
Having recently purchased a Bus Pirate from Sparkfun I decided I needed a case for this useful tool. In addition, quick research shows that the number one Bus Pirate project involves making a case. Does anyone actually use these things? There are plenty of case designs out there for the original Bus Pirate from Dangerous Prototypes, but since the Sparkfun version has a unique PCB design there are only a few examples of cases out in the wild. So I set out to make my own.
Software
- Inkscape – open source freeware vector drawing application. Used as a 2D CAD program.
- PartKAM – open source freeware flash based CAM program. Very basic, but good for basic 2.5D with SVG files (as produced by Inkscape).
Equipment
- CNC Router
- utility knife
- sand paper
Materials
- plywood ~ 1/4″
- acrylic ~ 1/4″
- assorted screws, rubber bands, and O-rings
Design
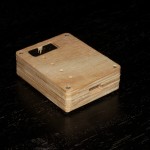
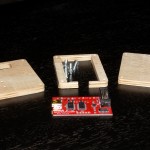
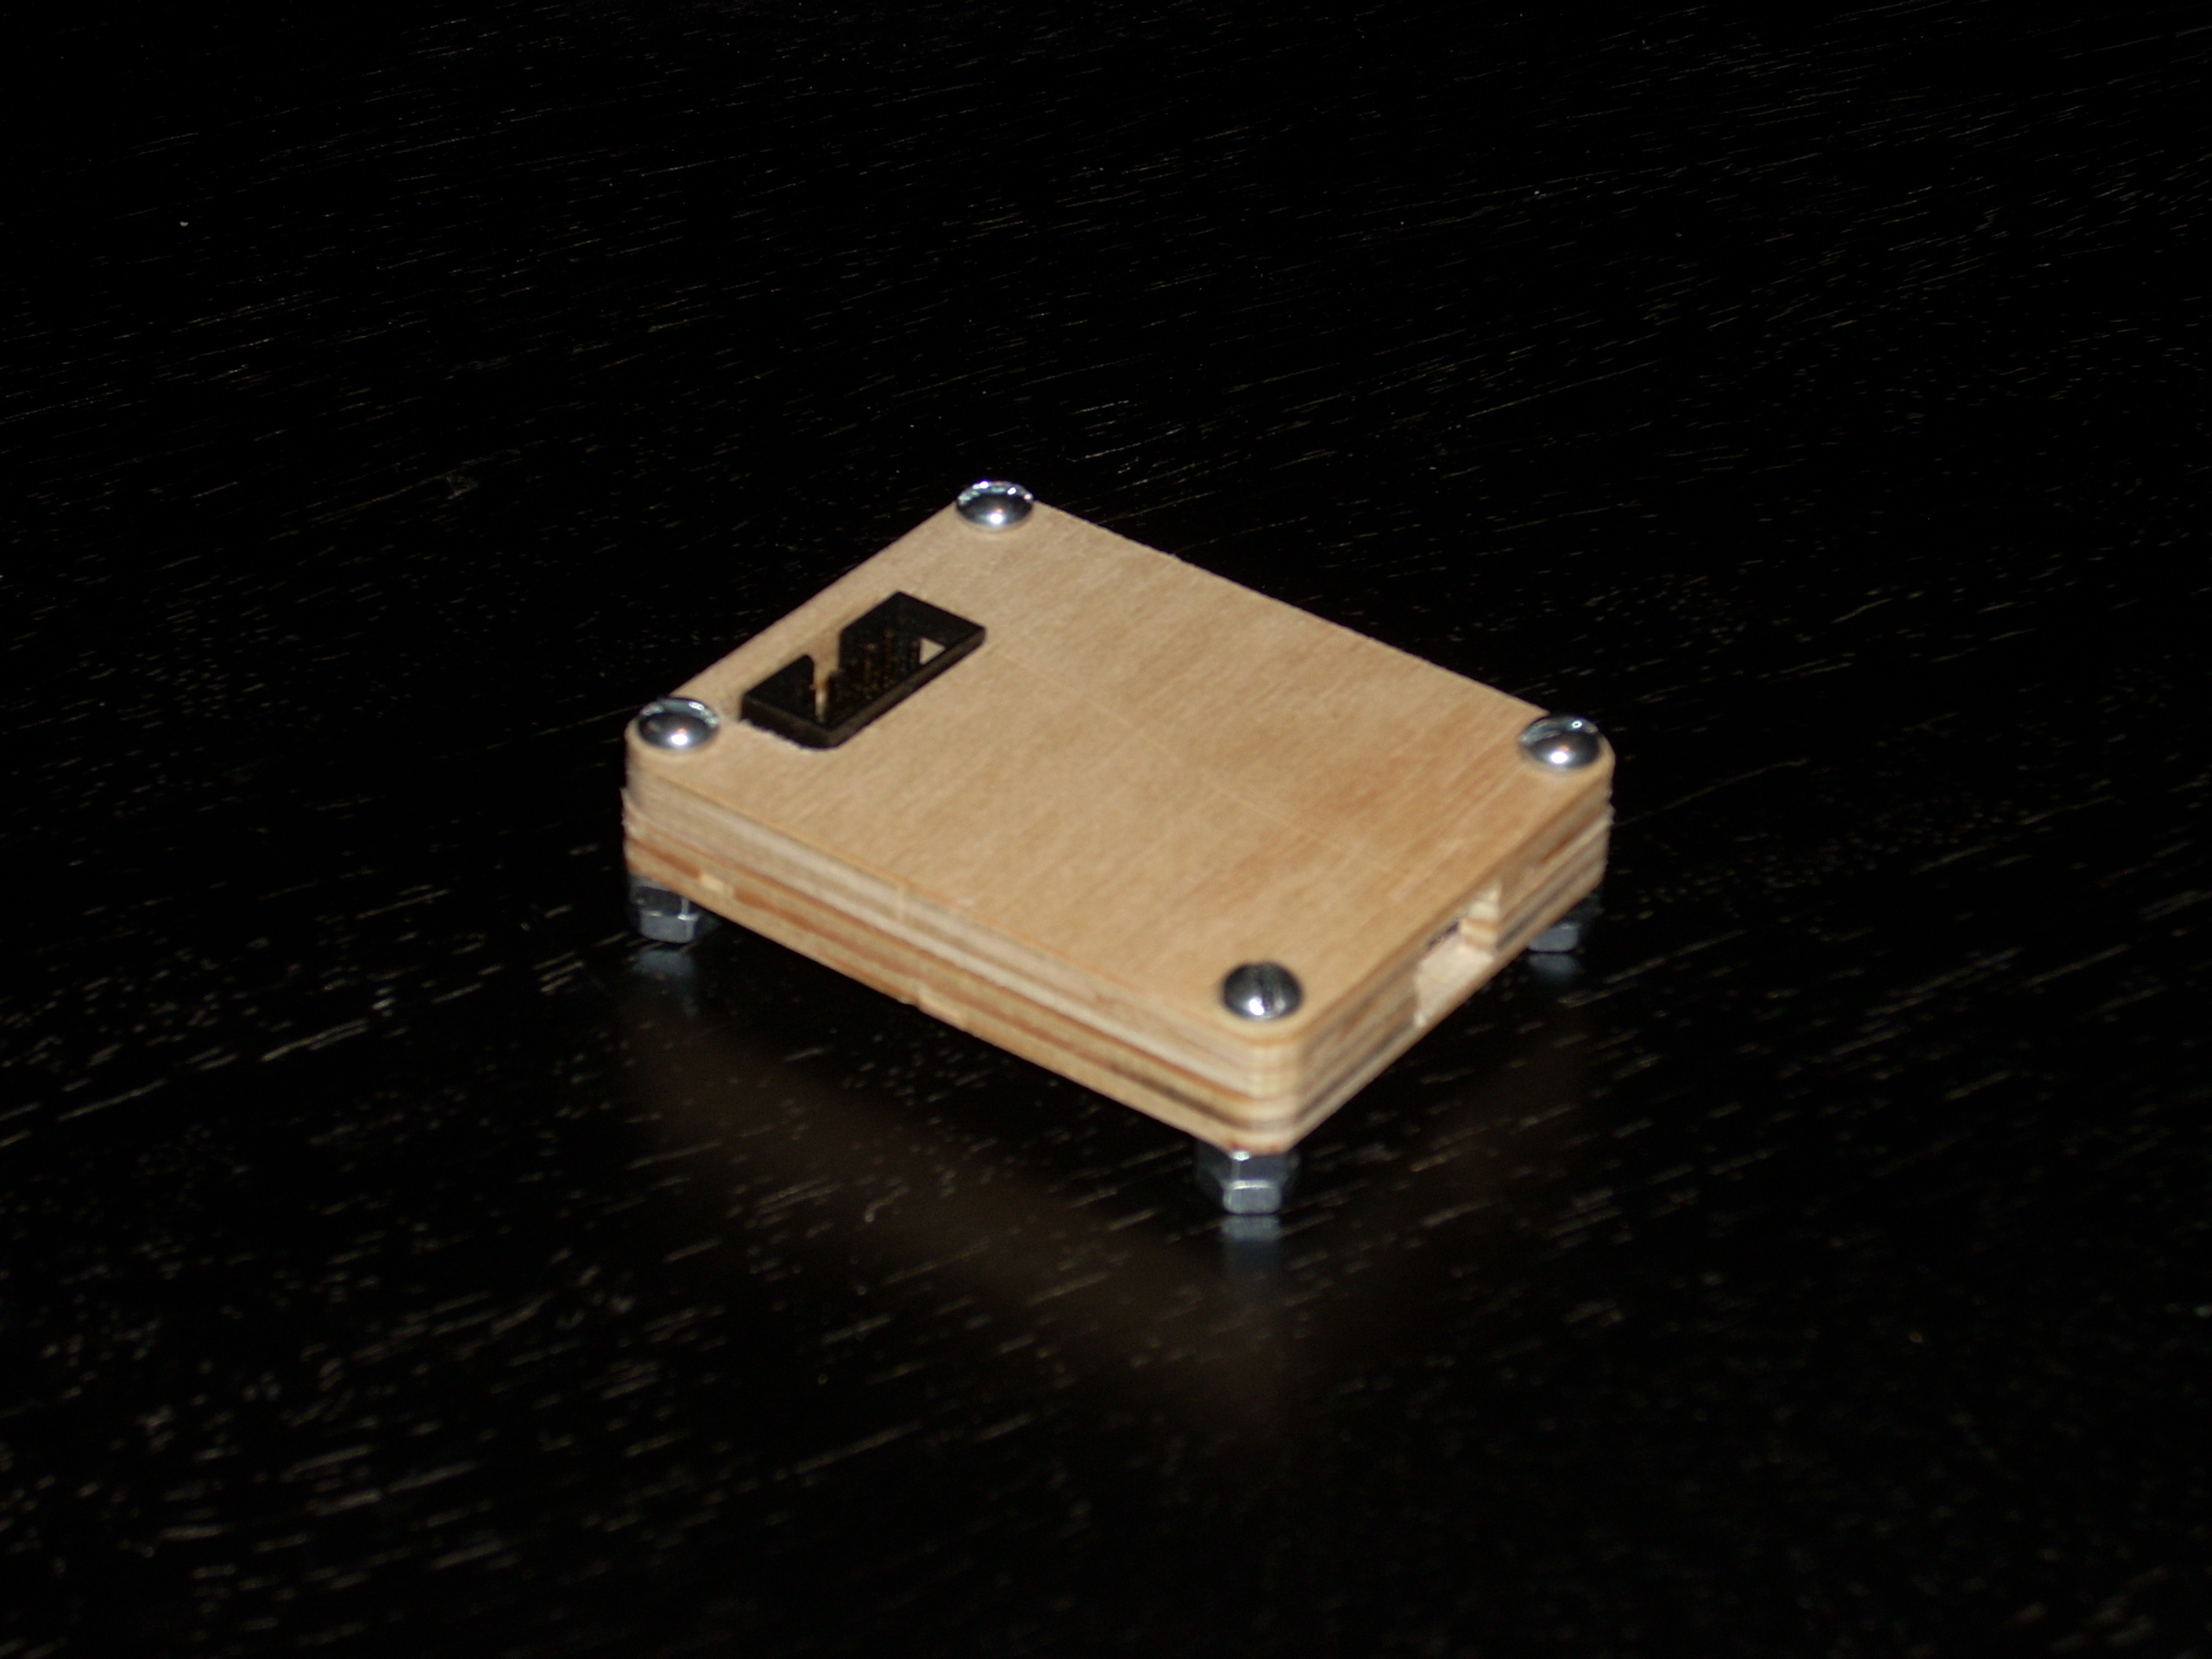
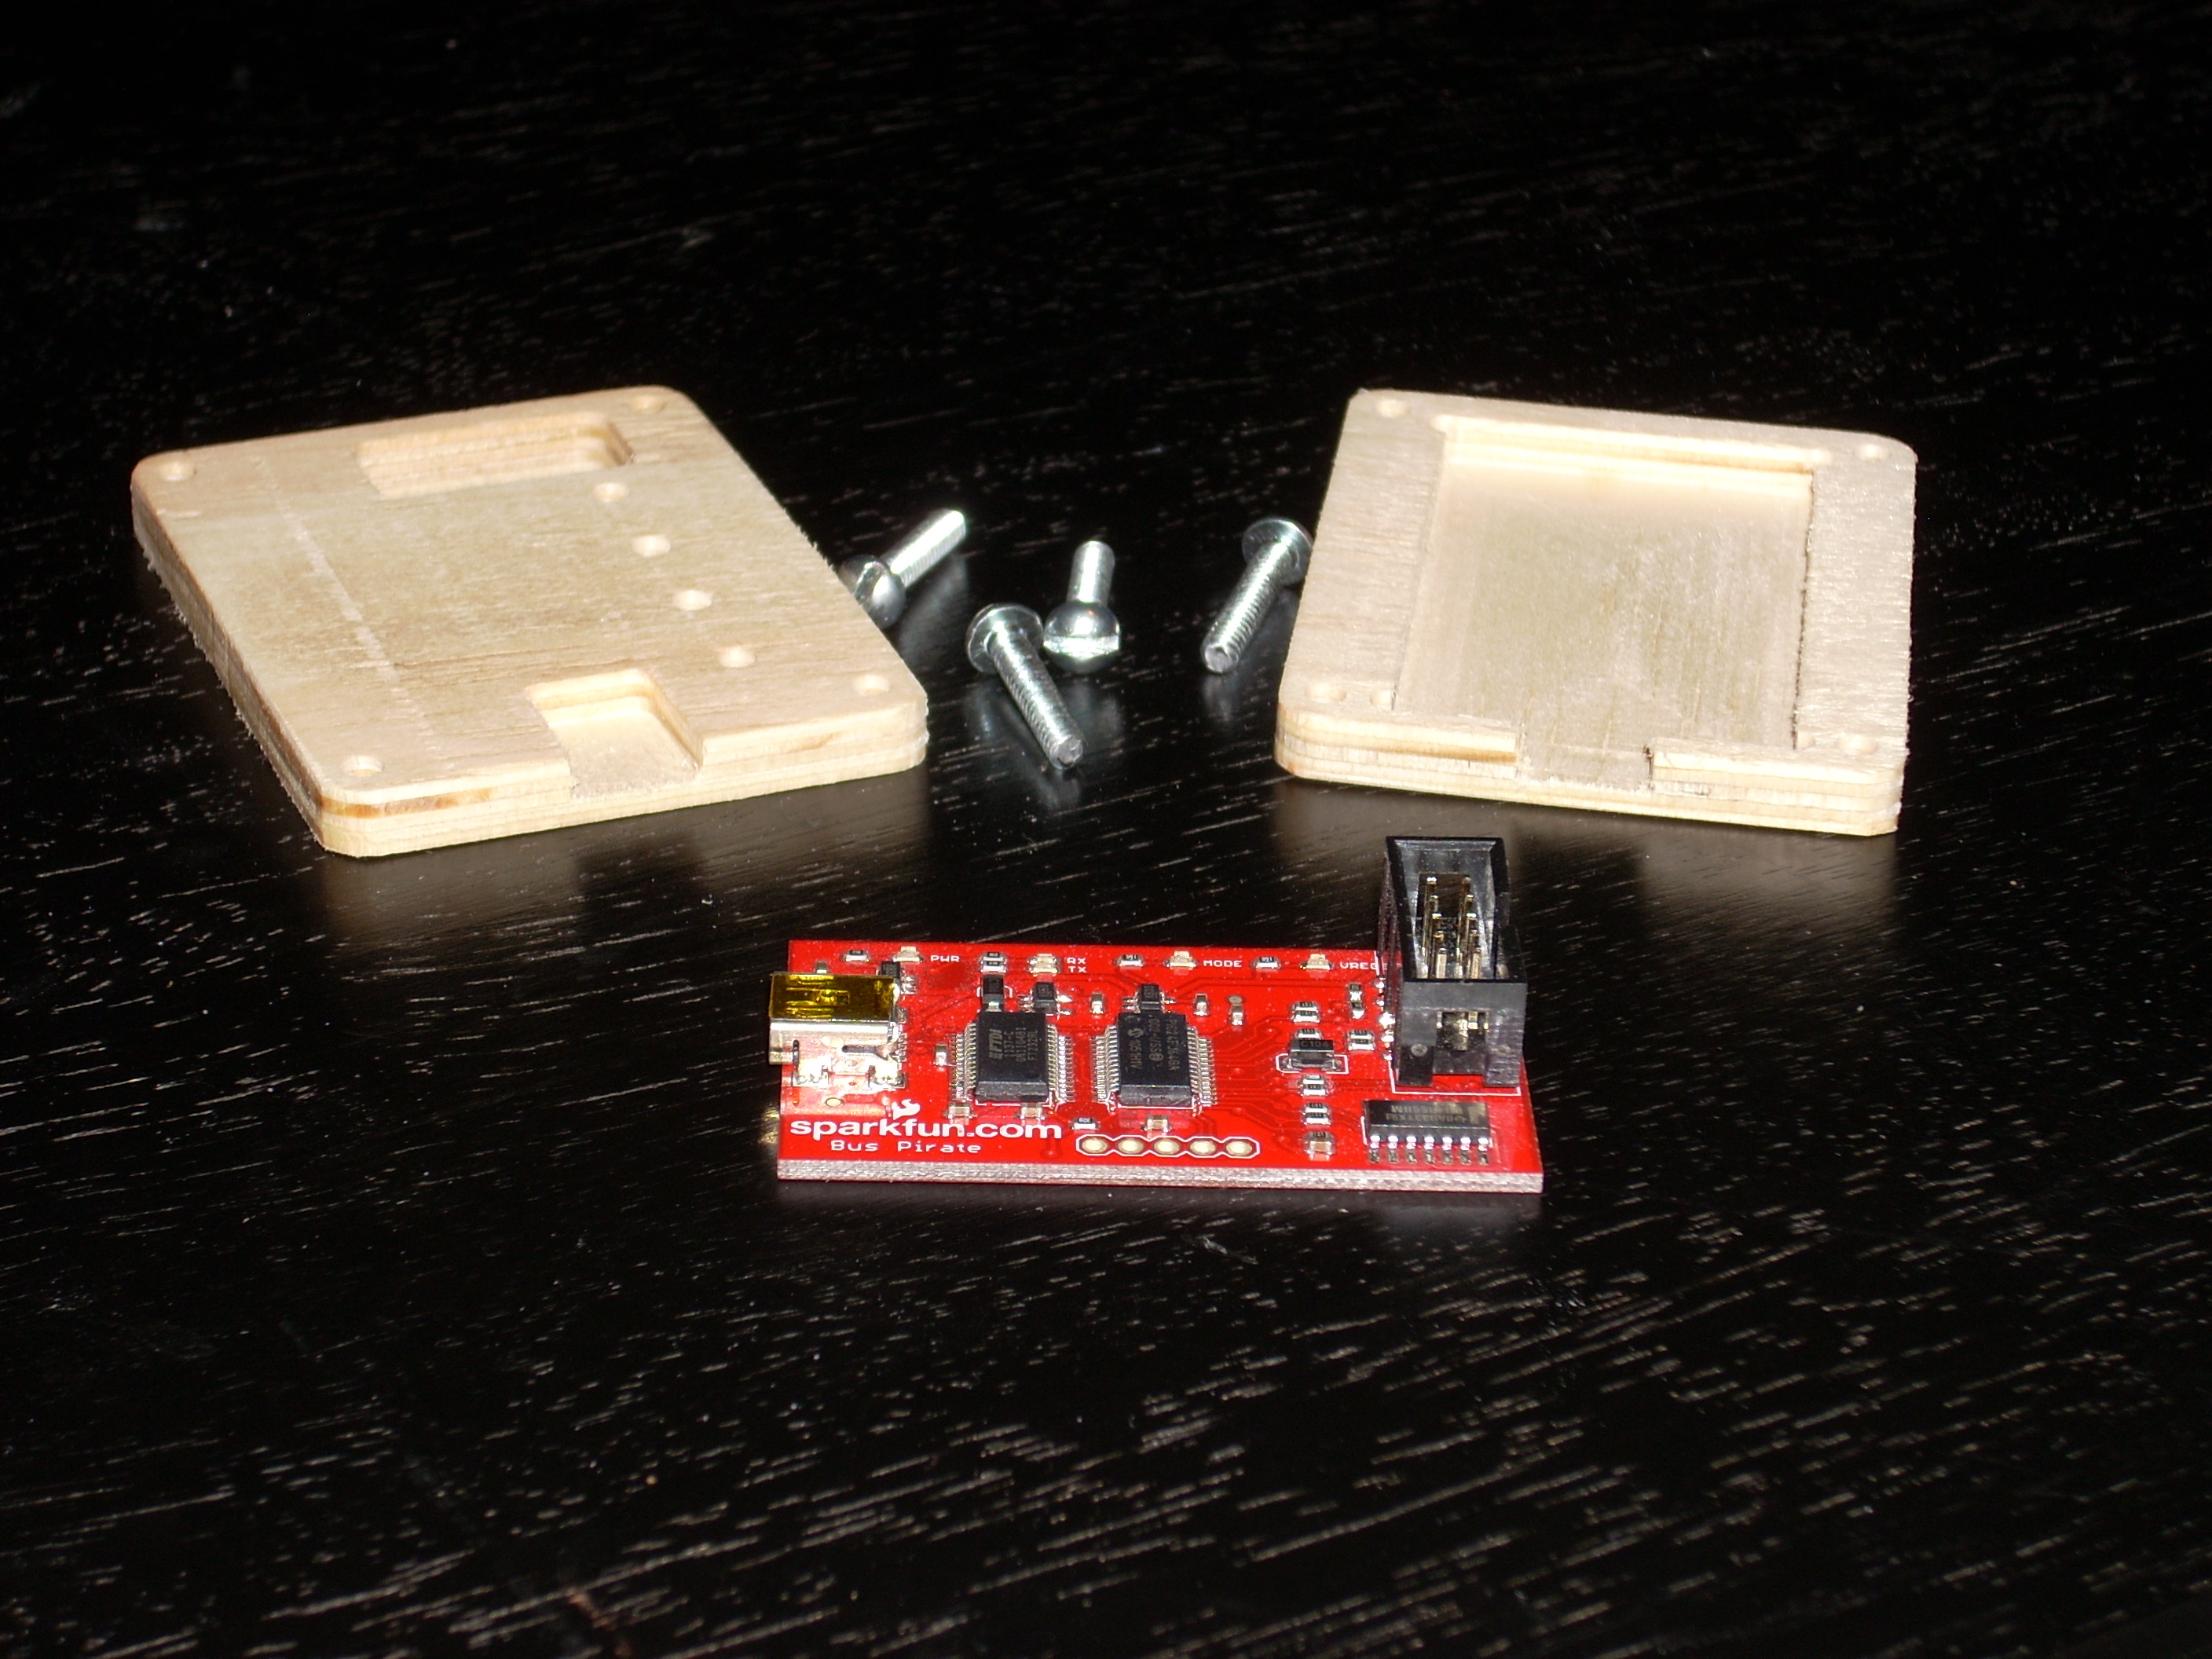
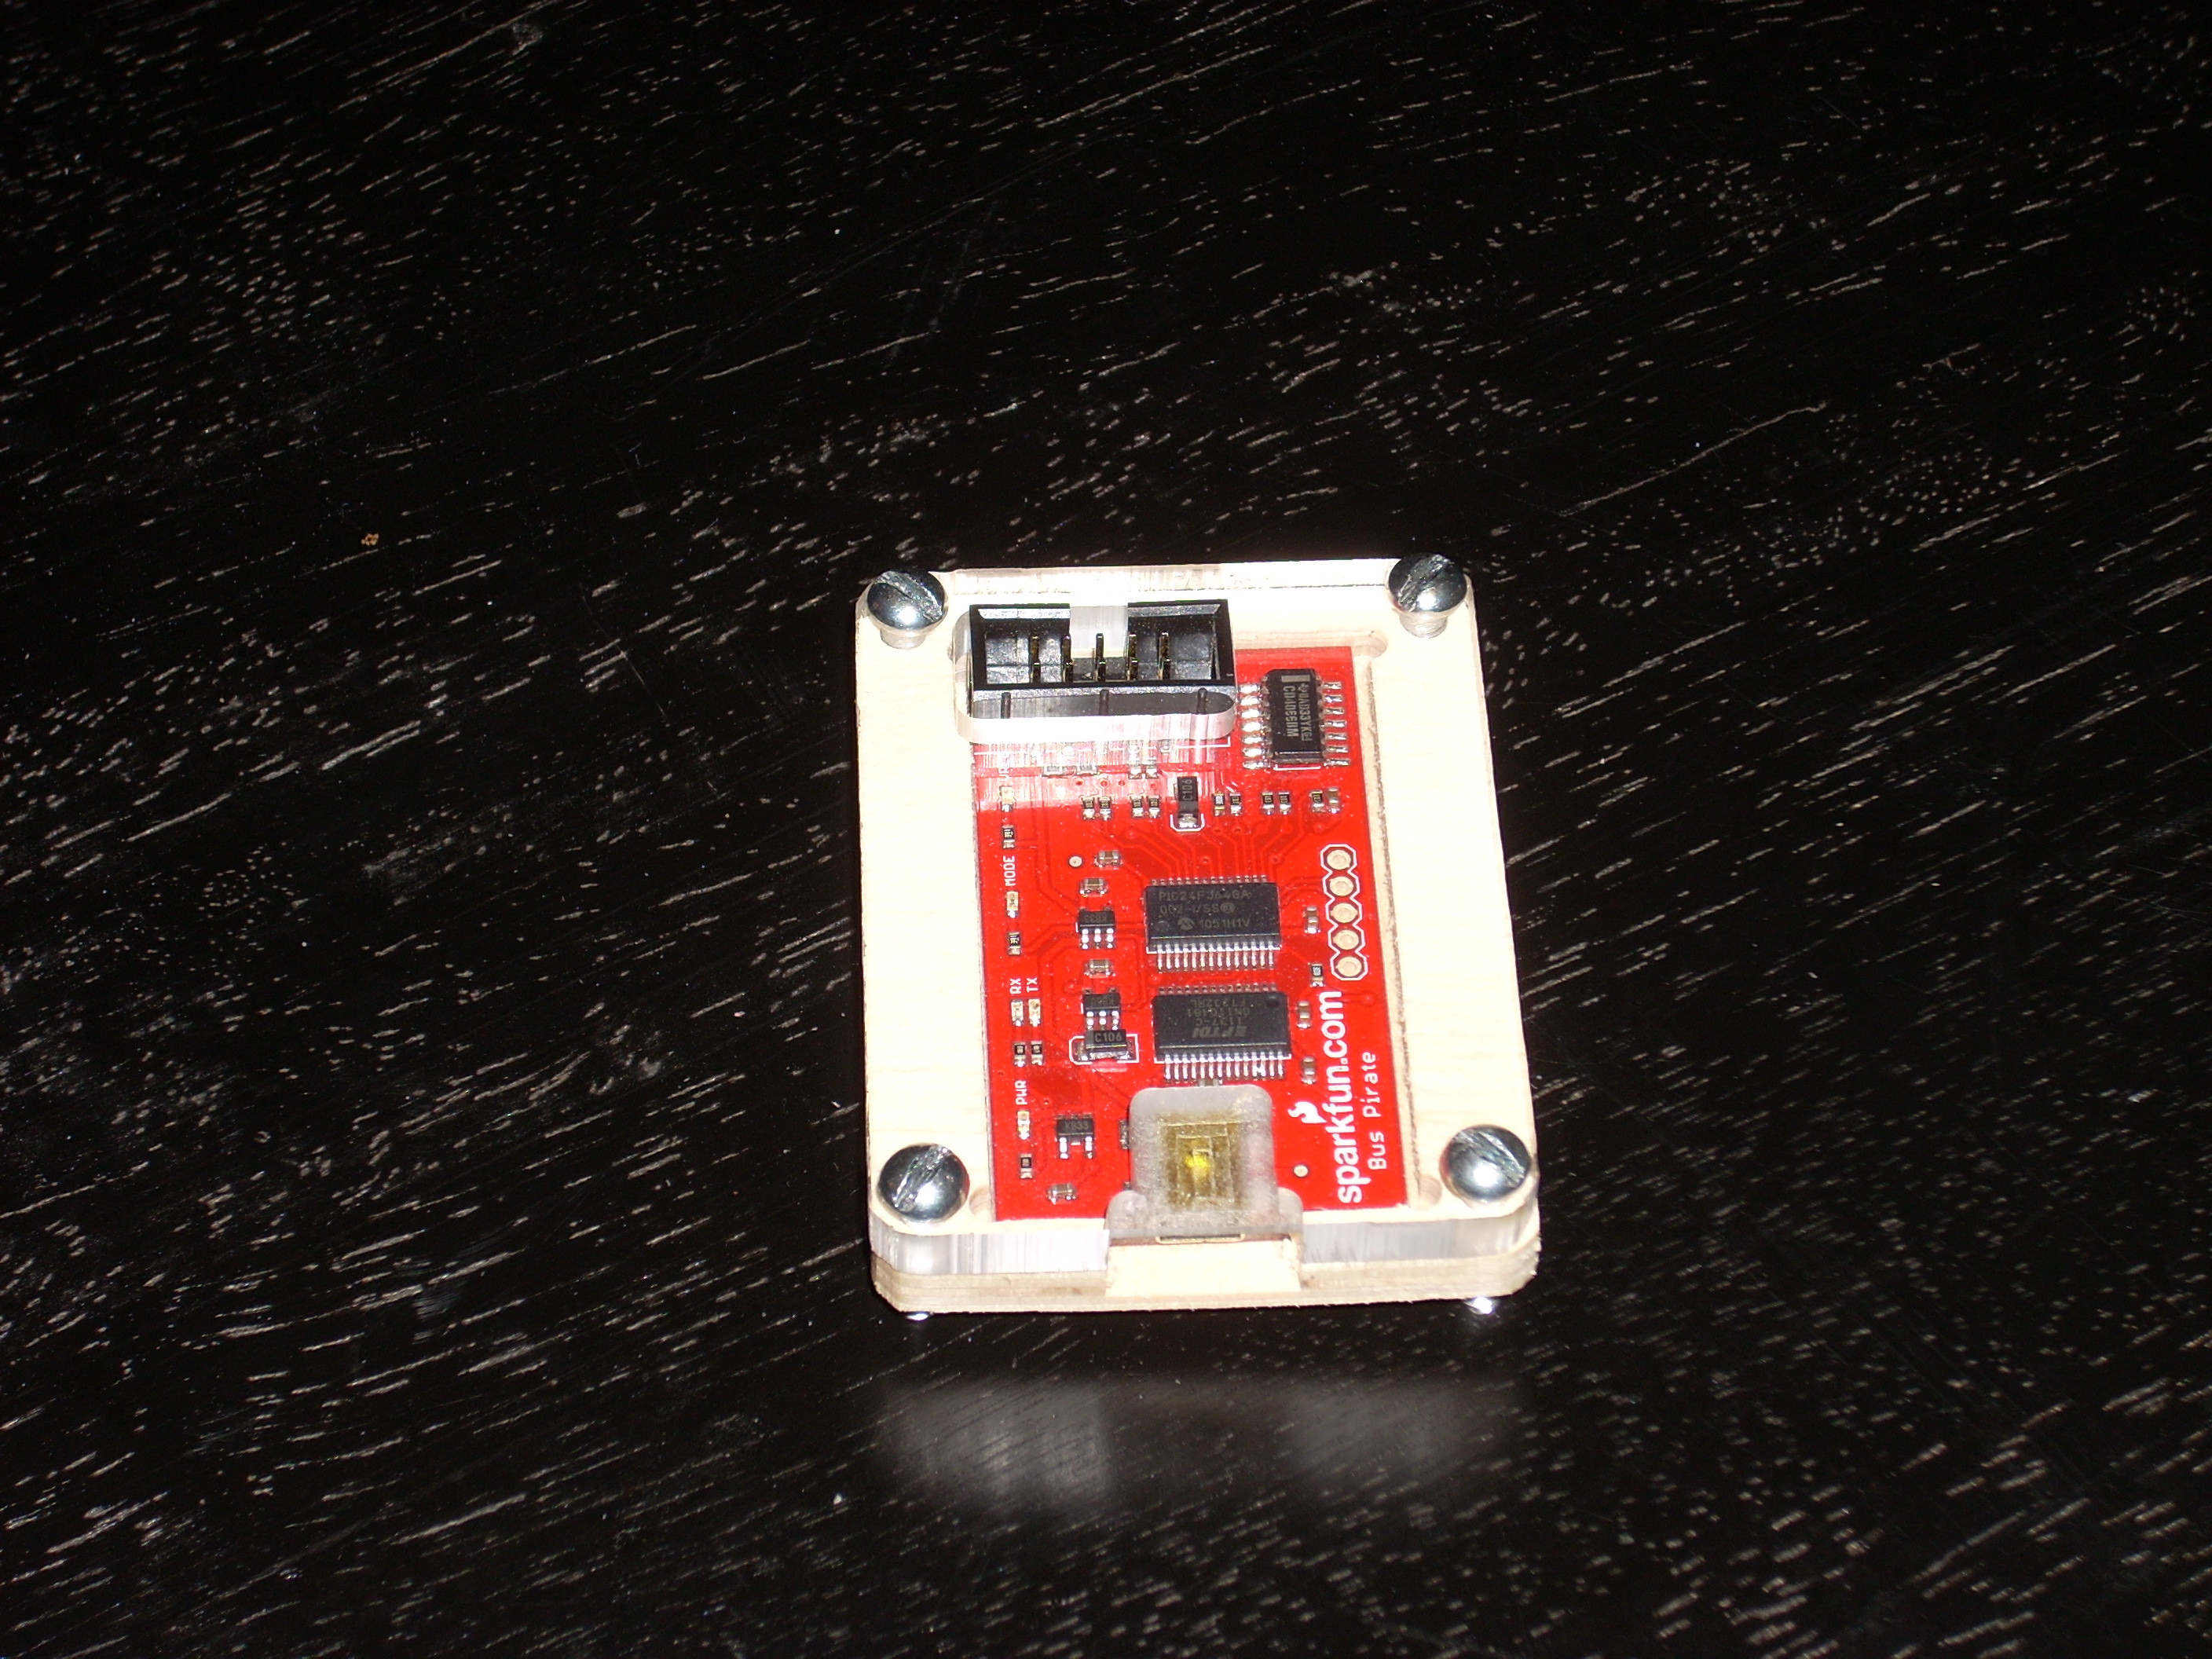
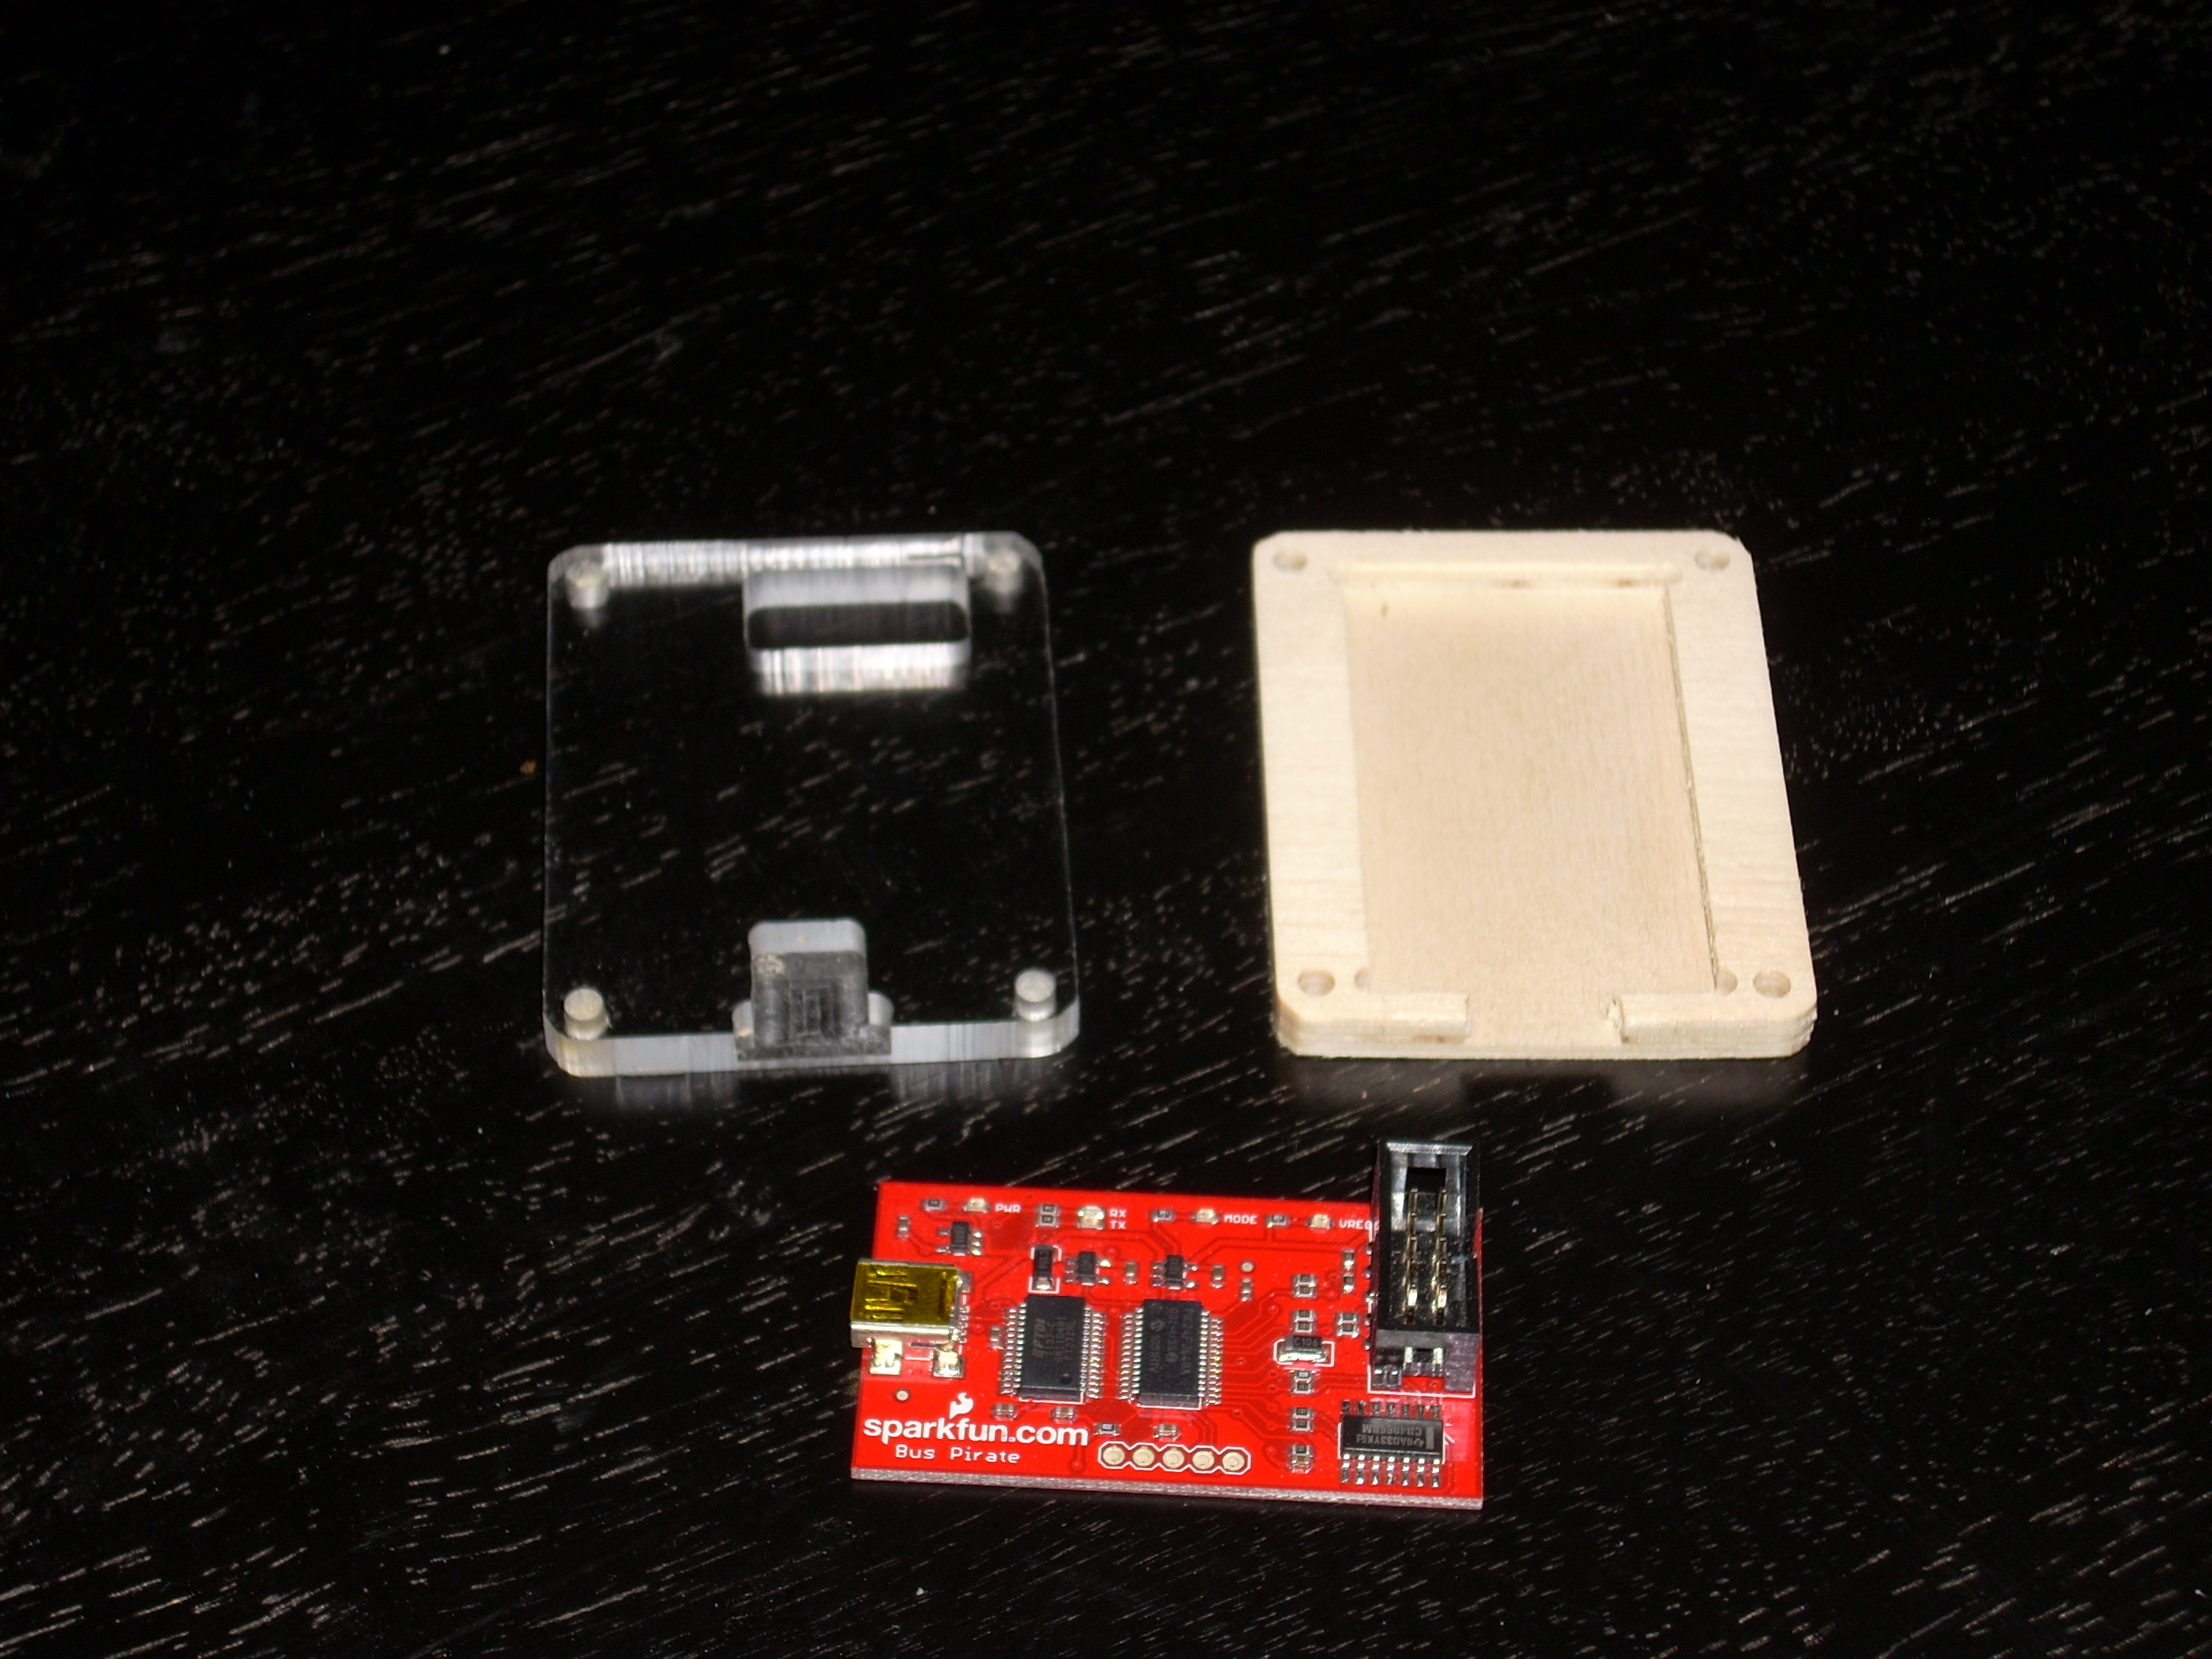
I went through 5 variations of the case design. The first version was 3 layers of 1/4″ ply and worked out pretty well. The only real design problem was the opening for USB cable was too narrow for the USB cable that I normally use, but it did fit another cable that was handy.
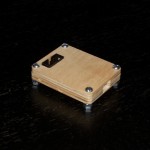
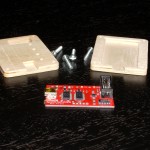
The second variation, I deciced I could fit the Bus Pirate in 2 layers of 1/4″ ply and I noticed that the LEDs were so bright that they were showing through the sides of the first case, so I decided to not drill the led holes all the way through. The two piece design worked out well, the LED half holes didn’t work out as well. The opening for the USB cable is much better.
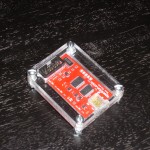
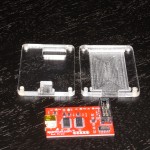
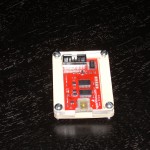
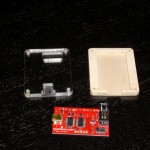
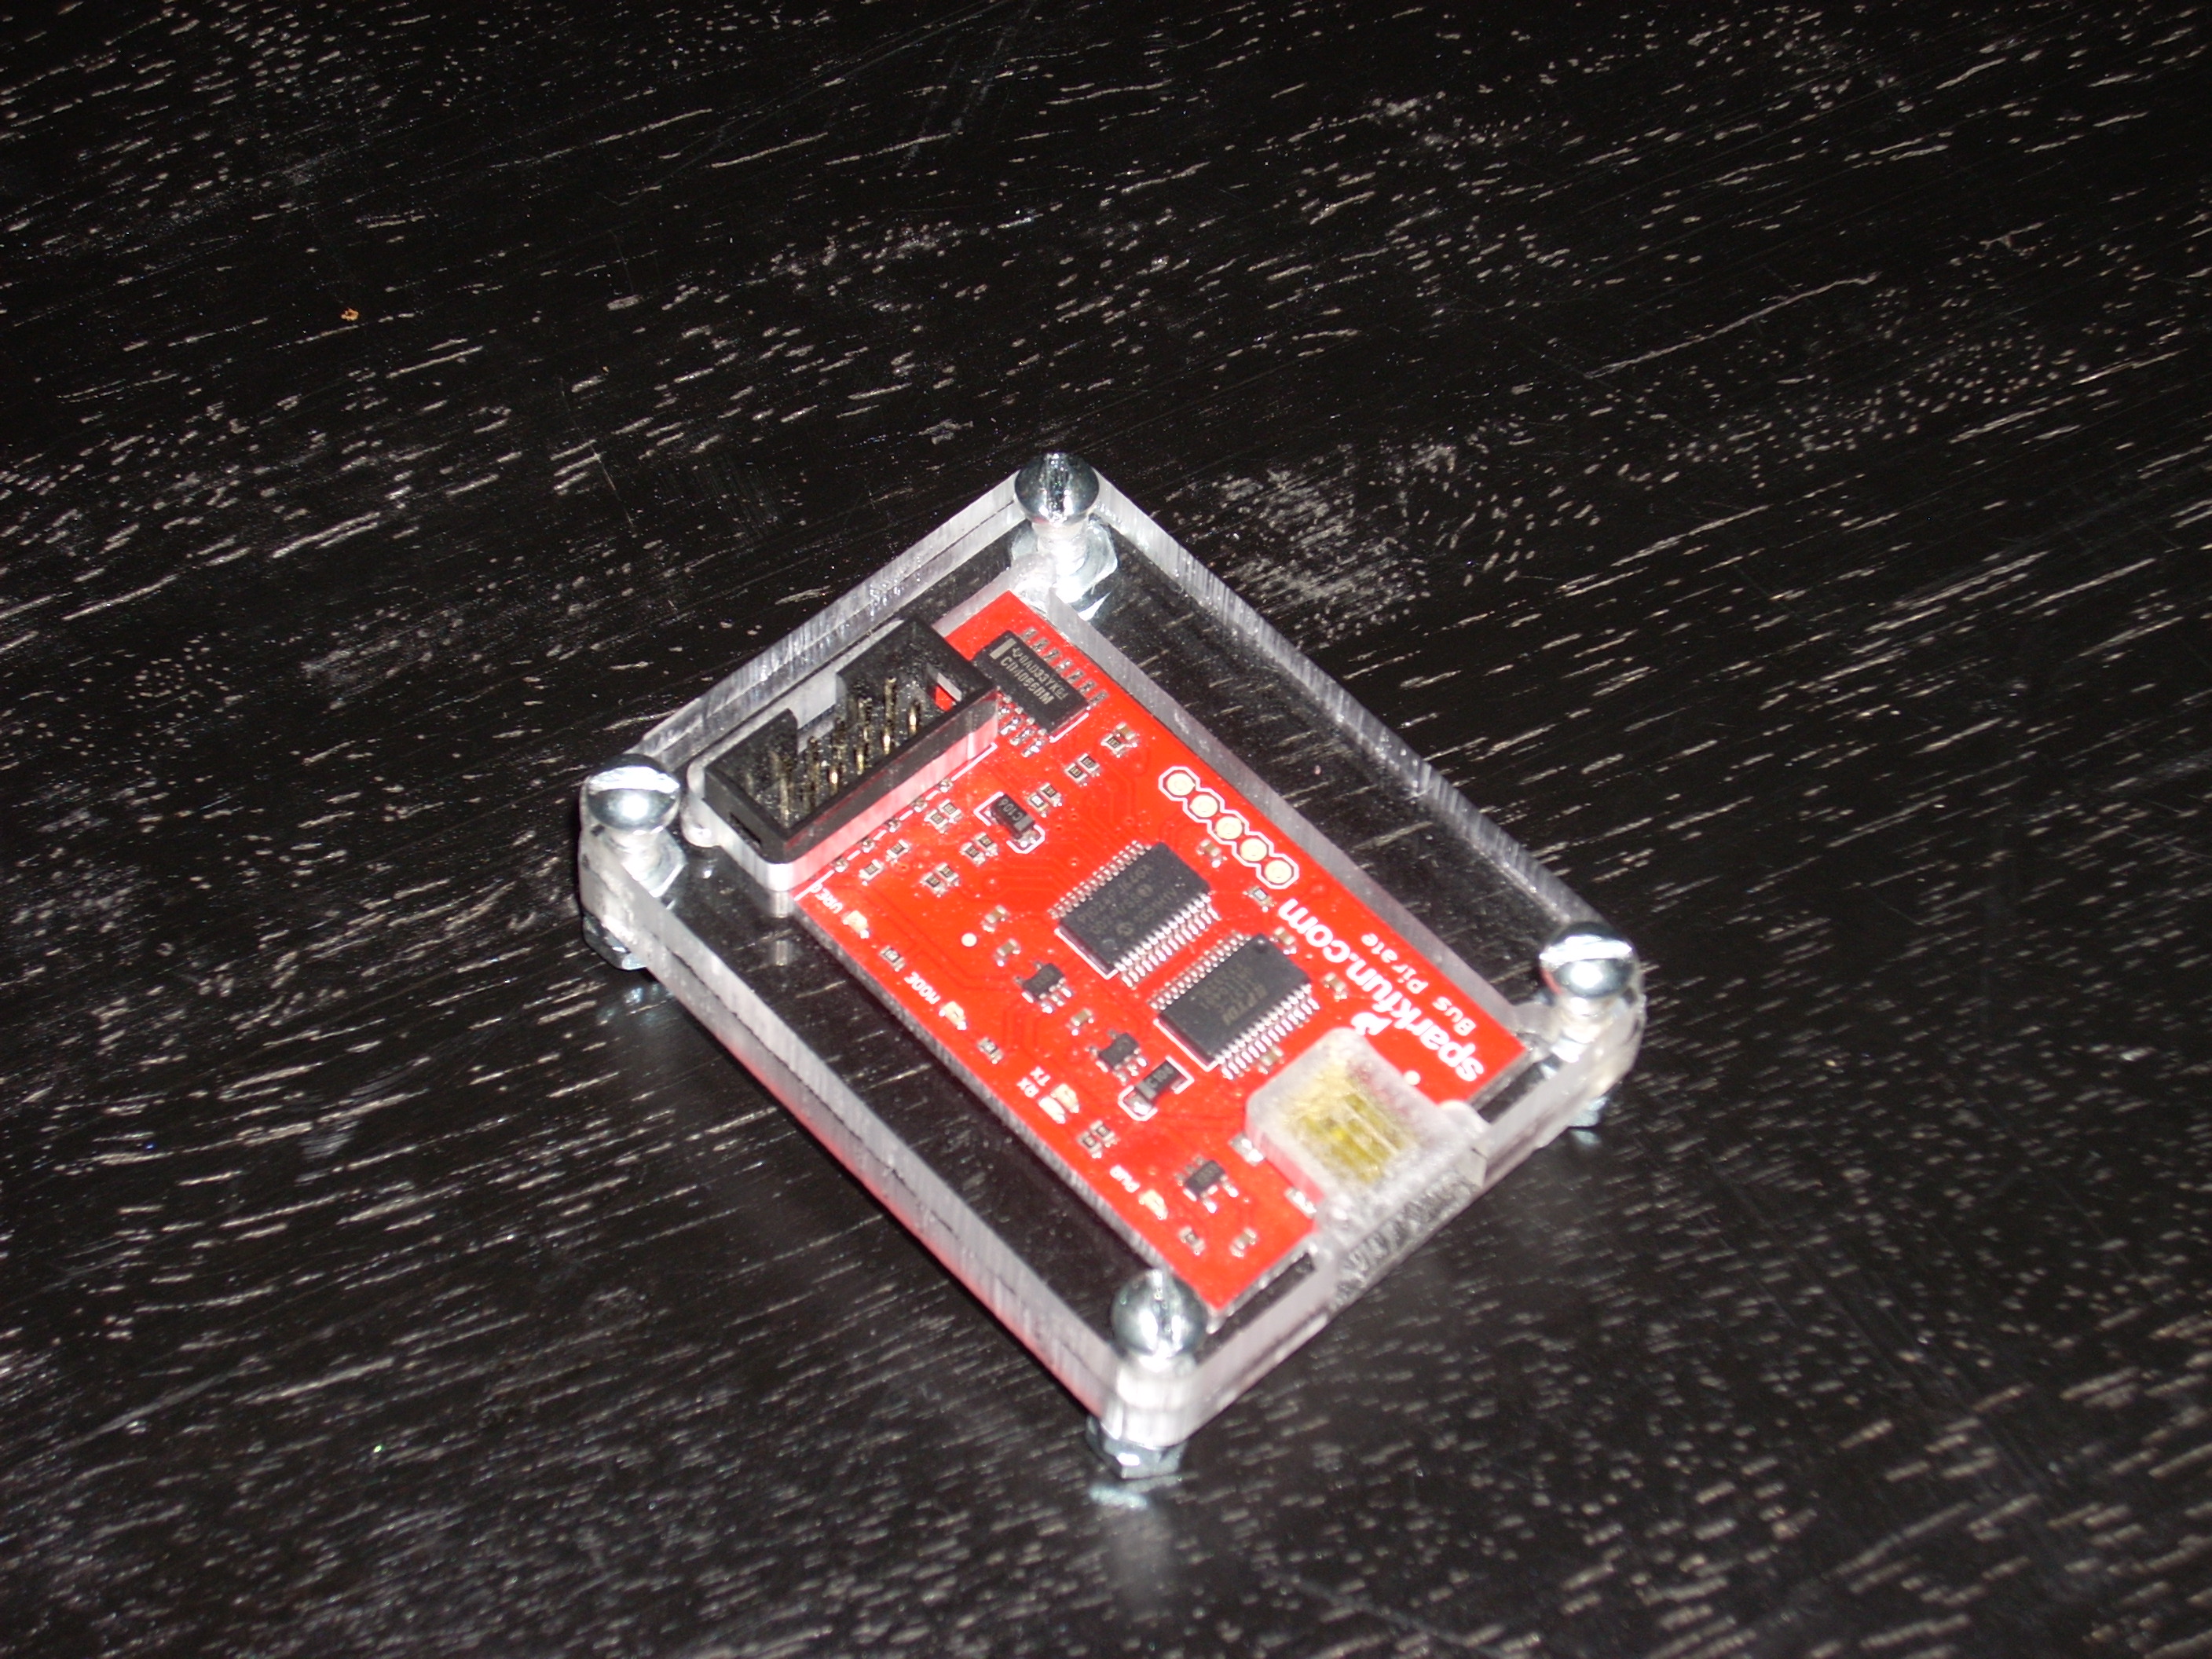
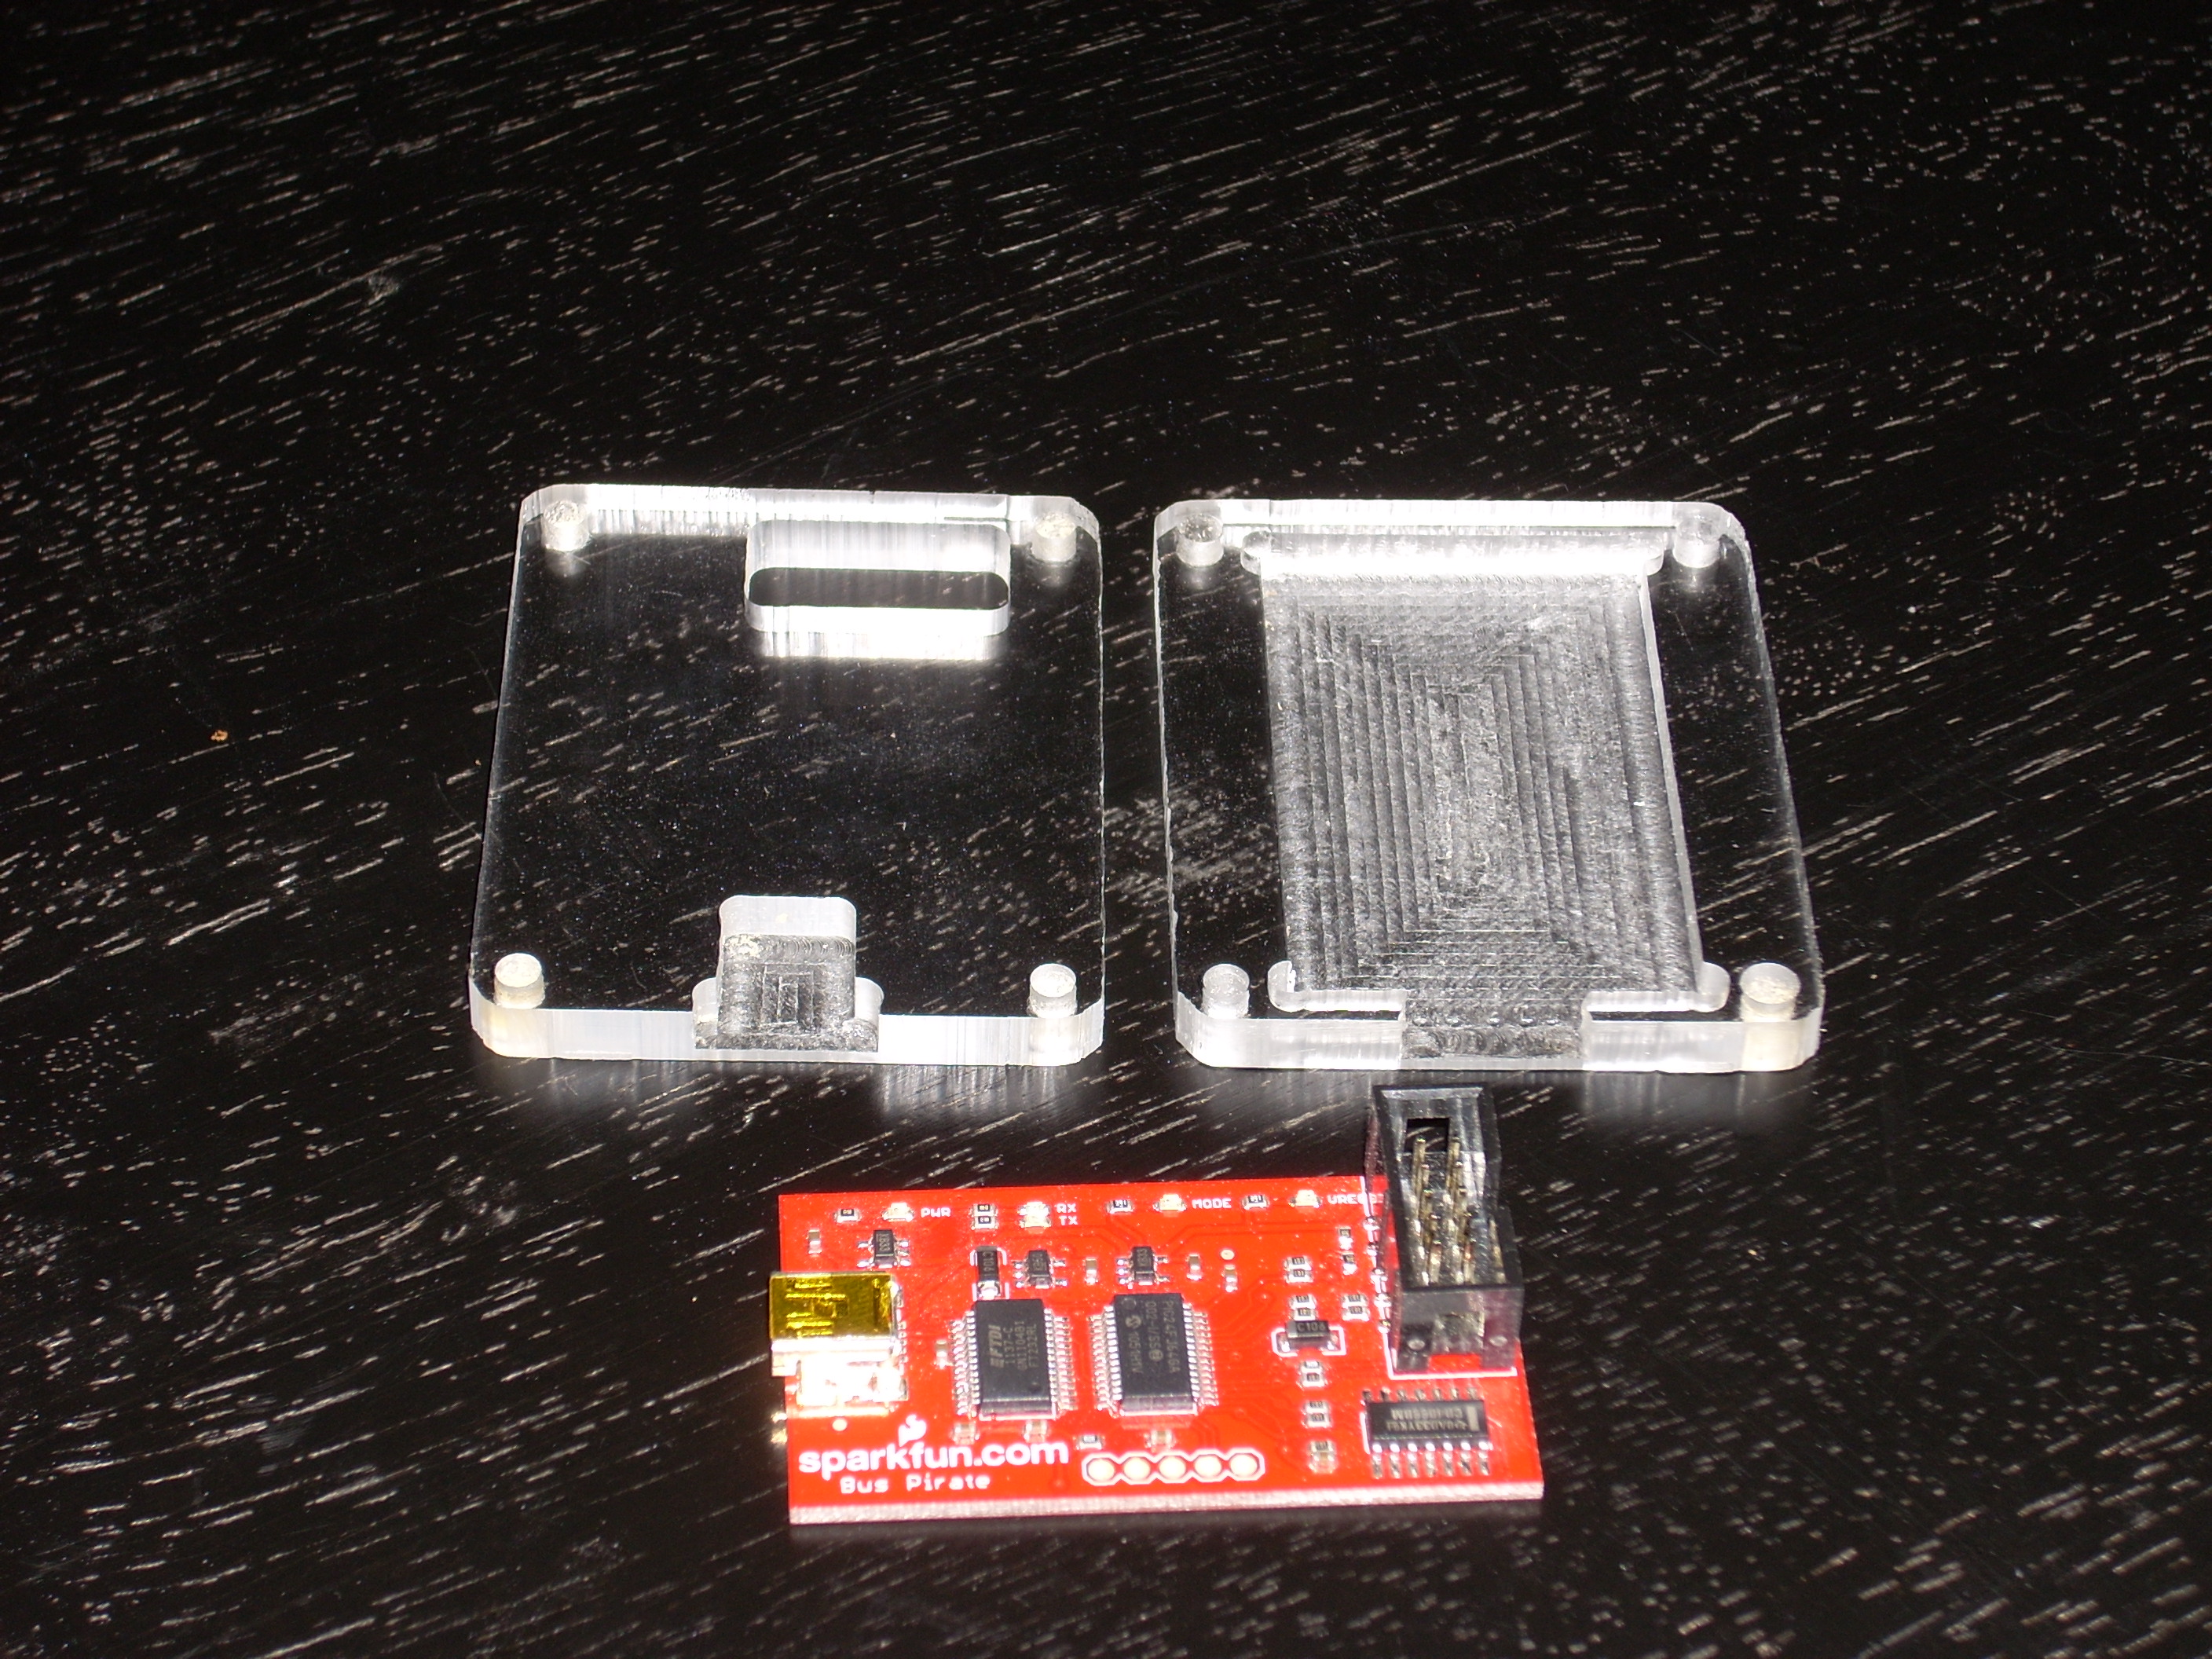
The third variation I thought I would try acrylic and basically just got rid of the LED holes all together. This (3a) looked nice, though I am still having trouble cutting acrylic neatly. I mixed the parts from case 2 and decided that I like the mix of acrylic top and plywood bottom (3b).
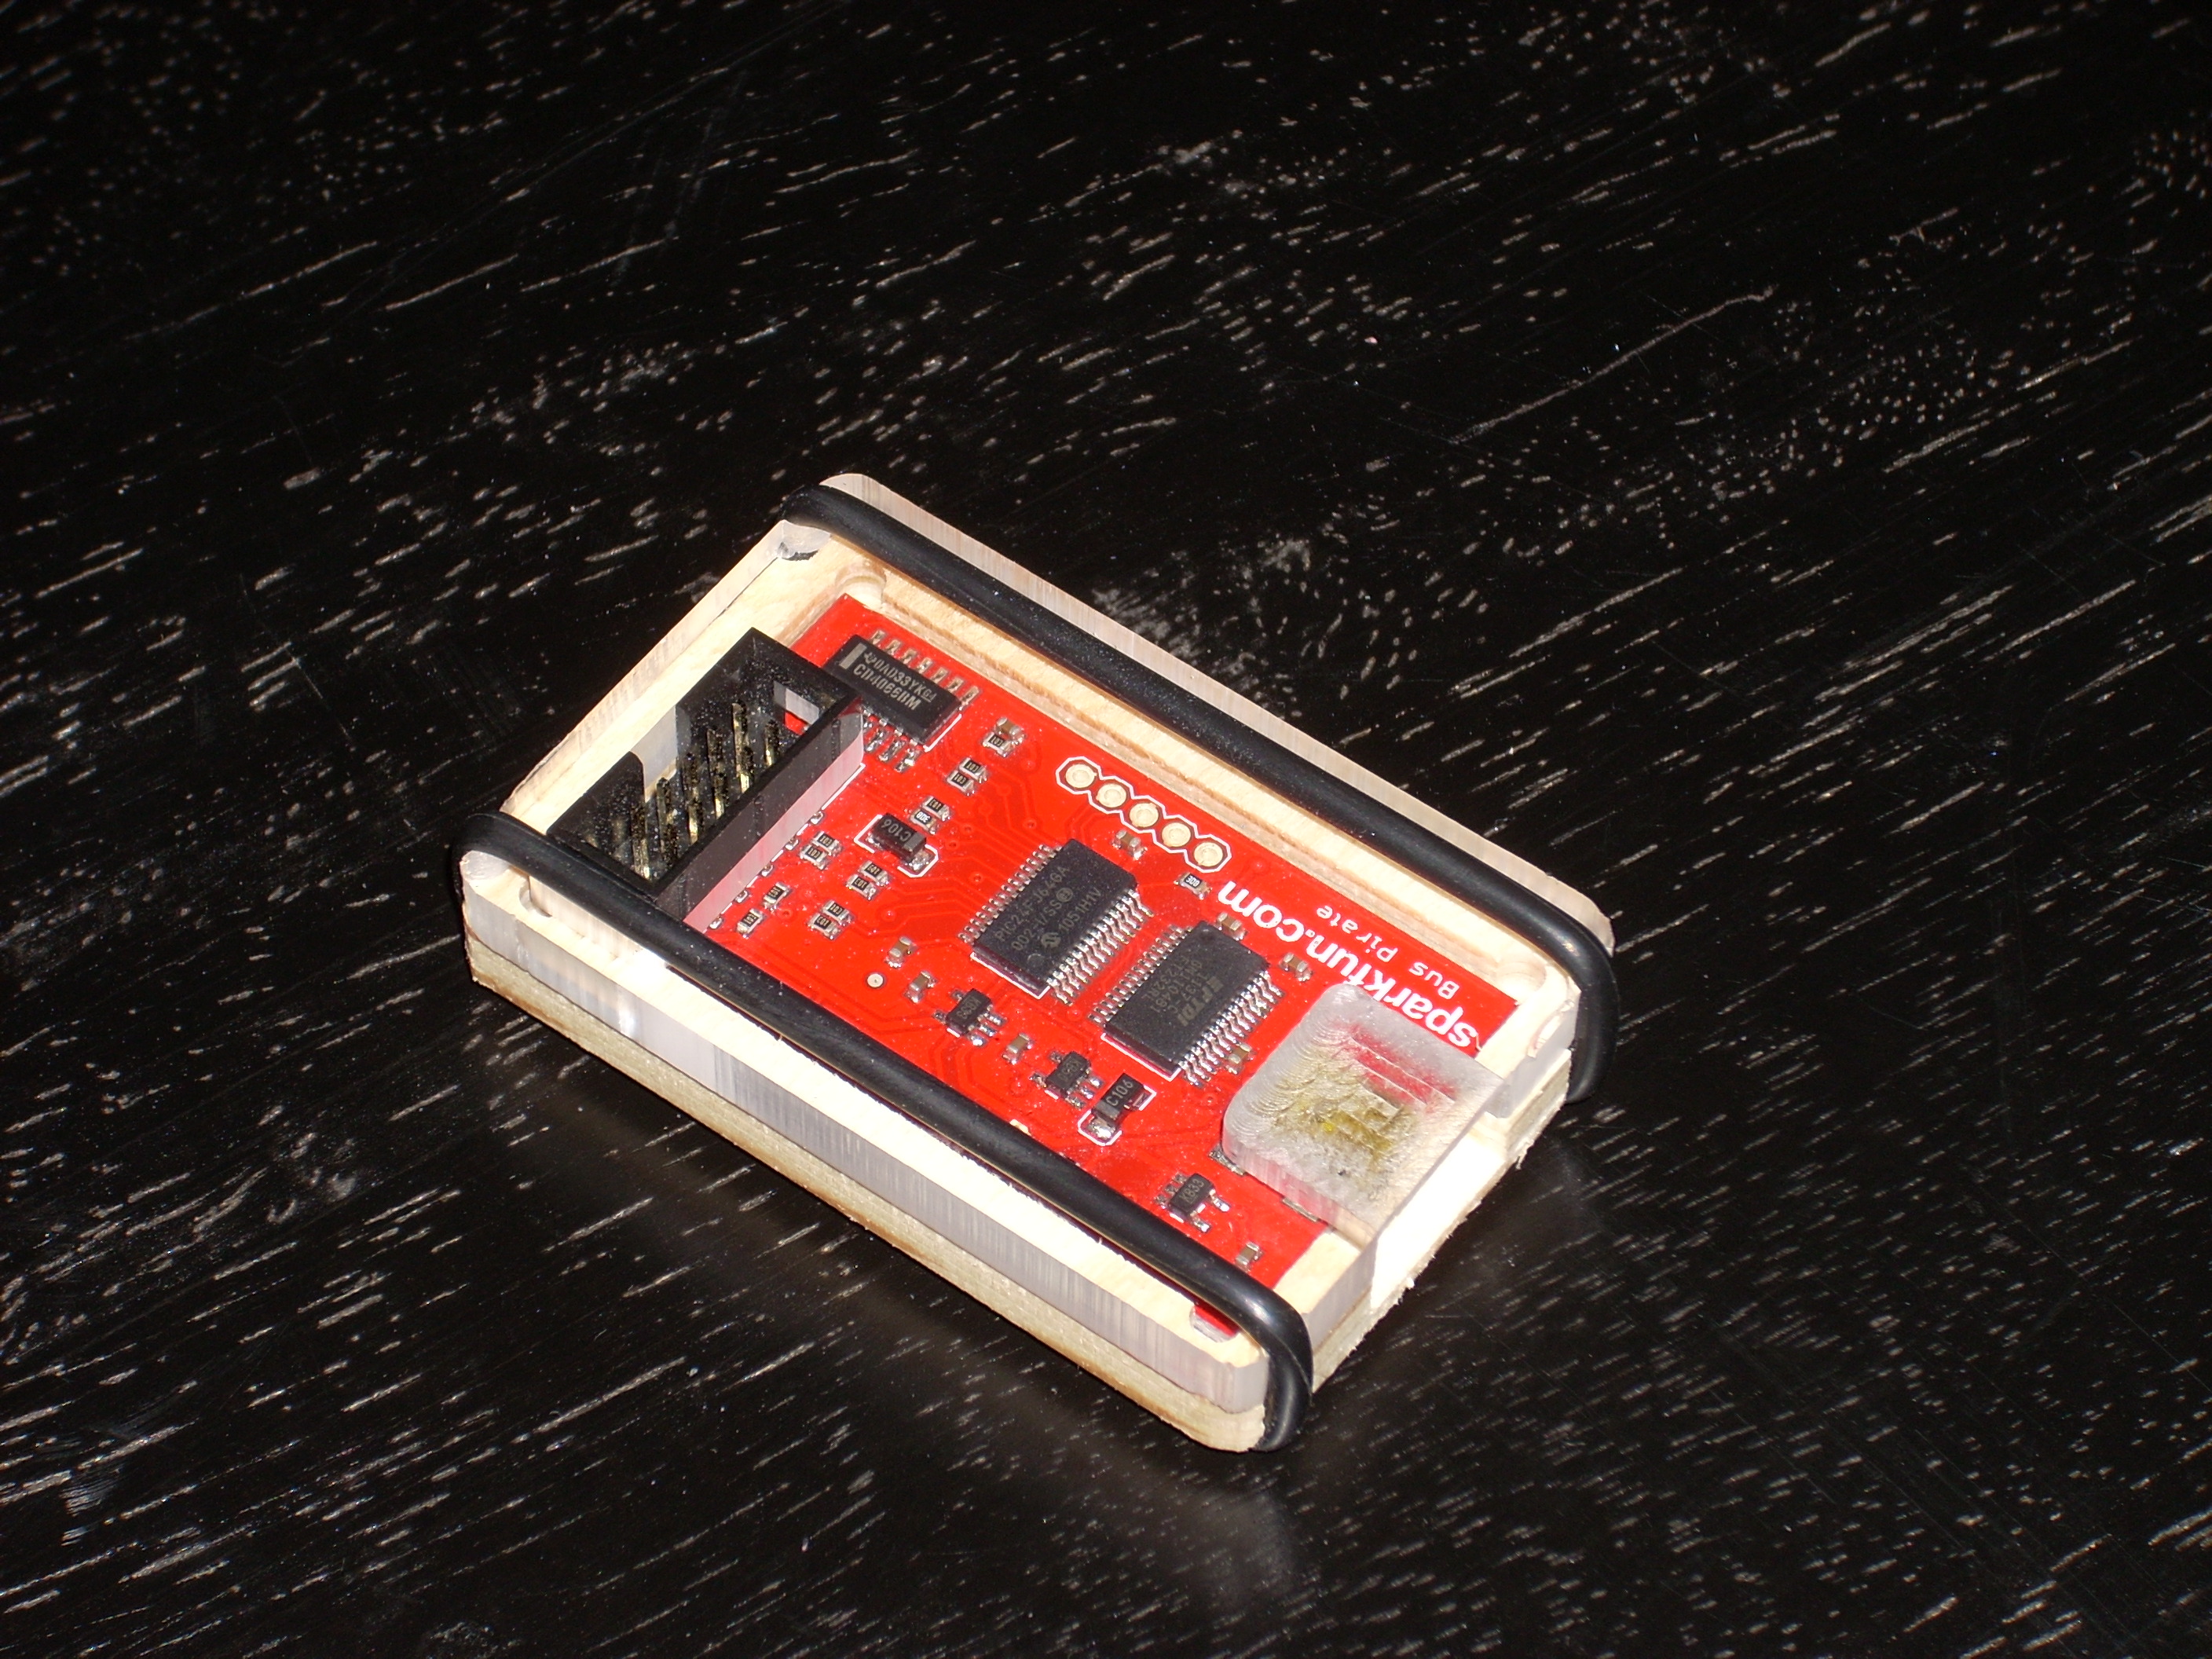
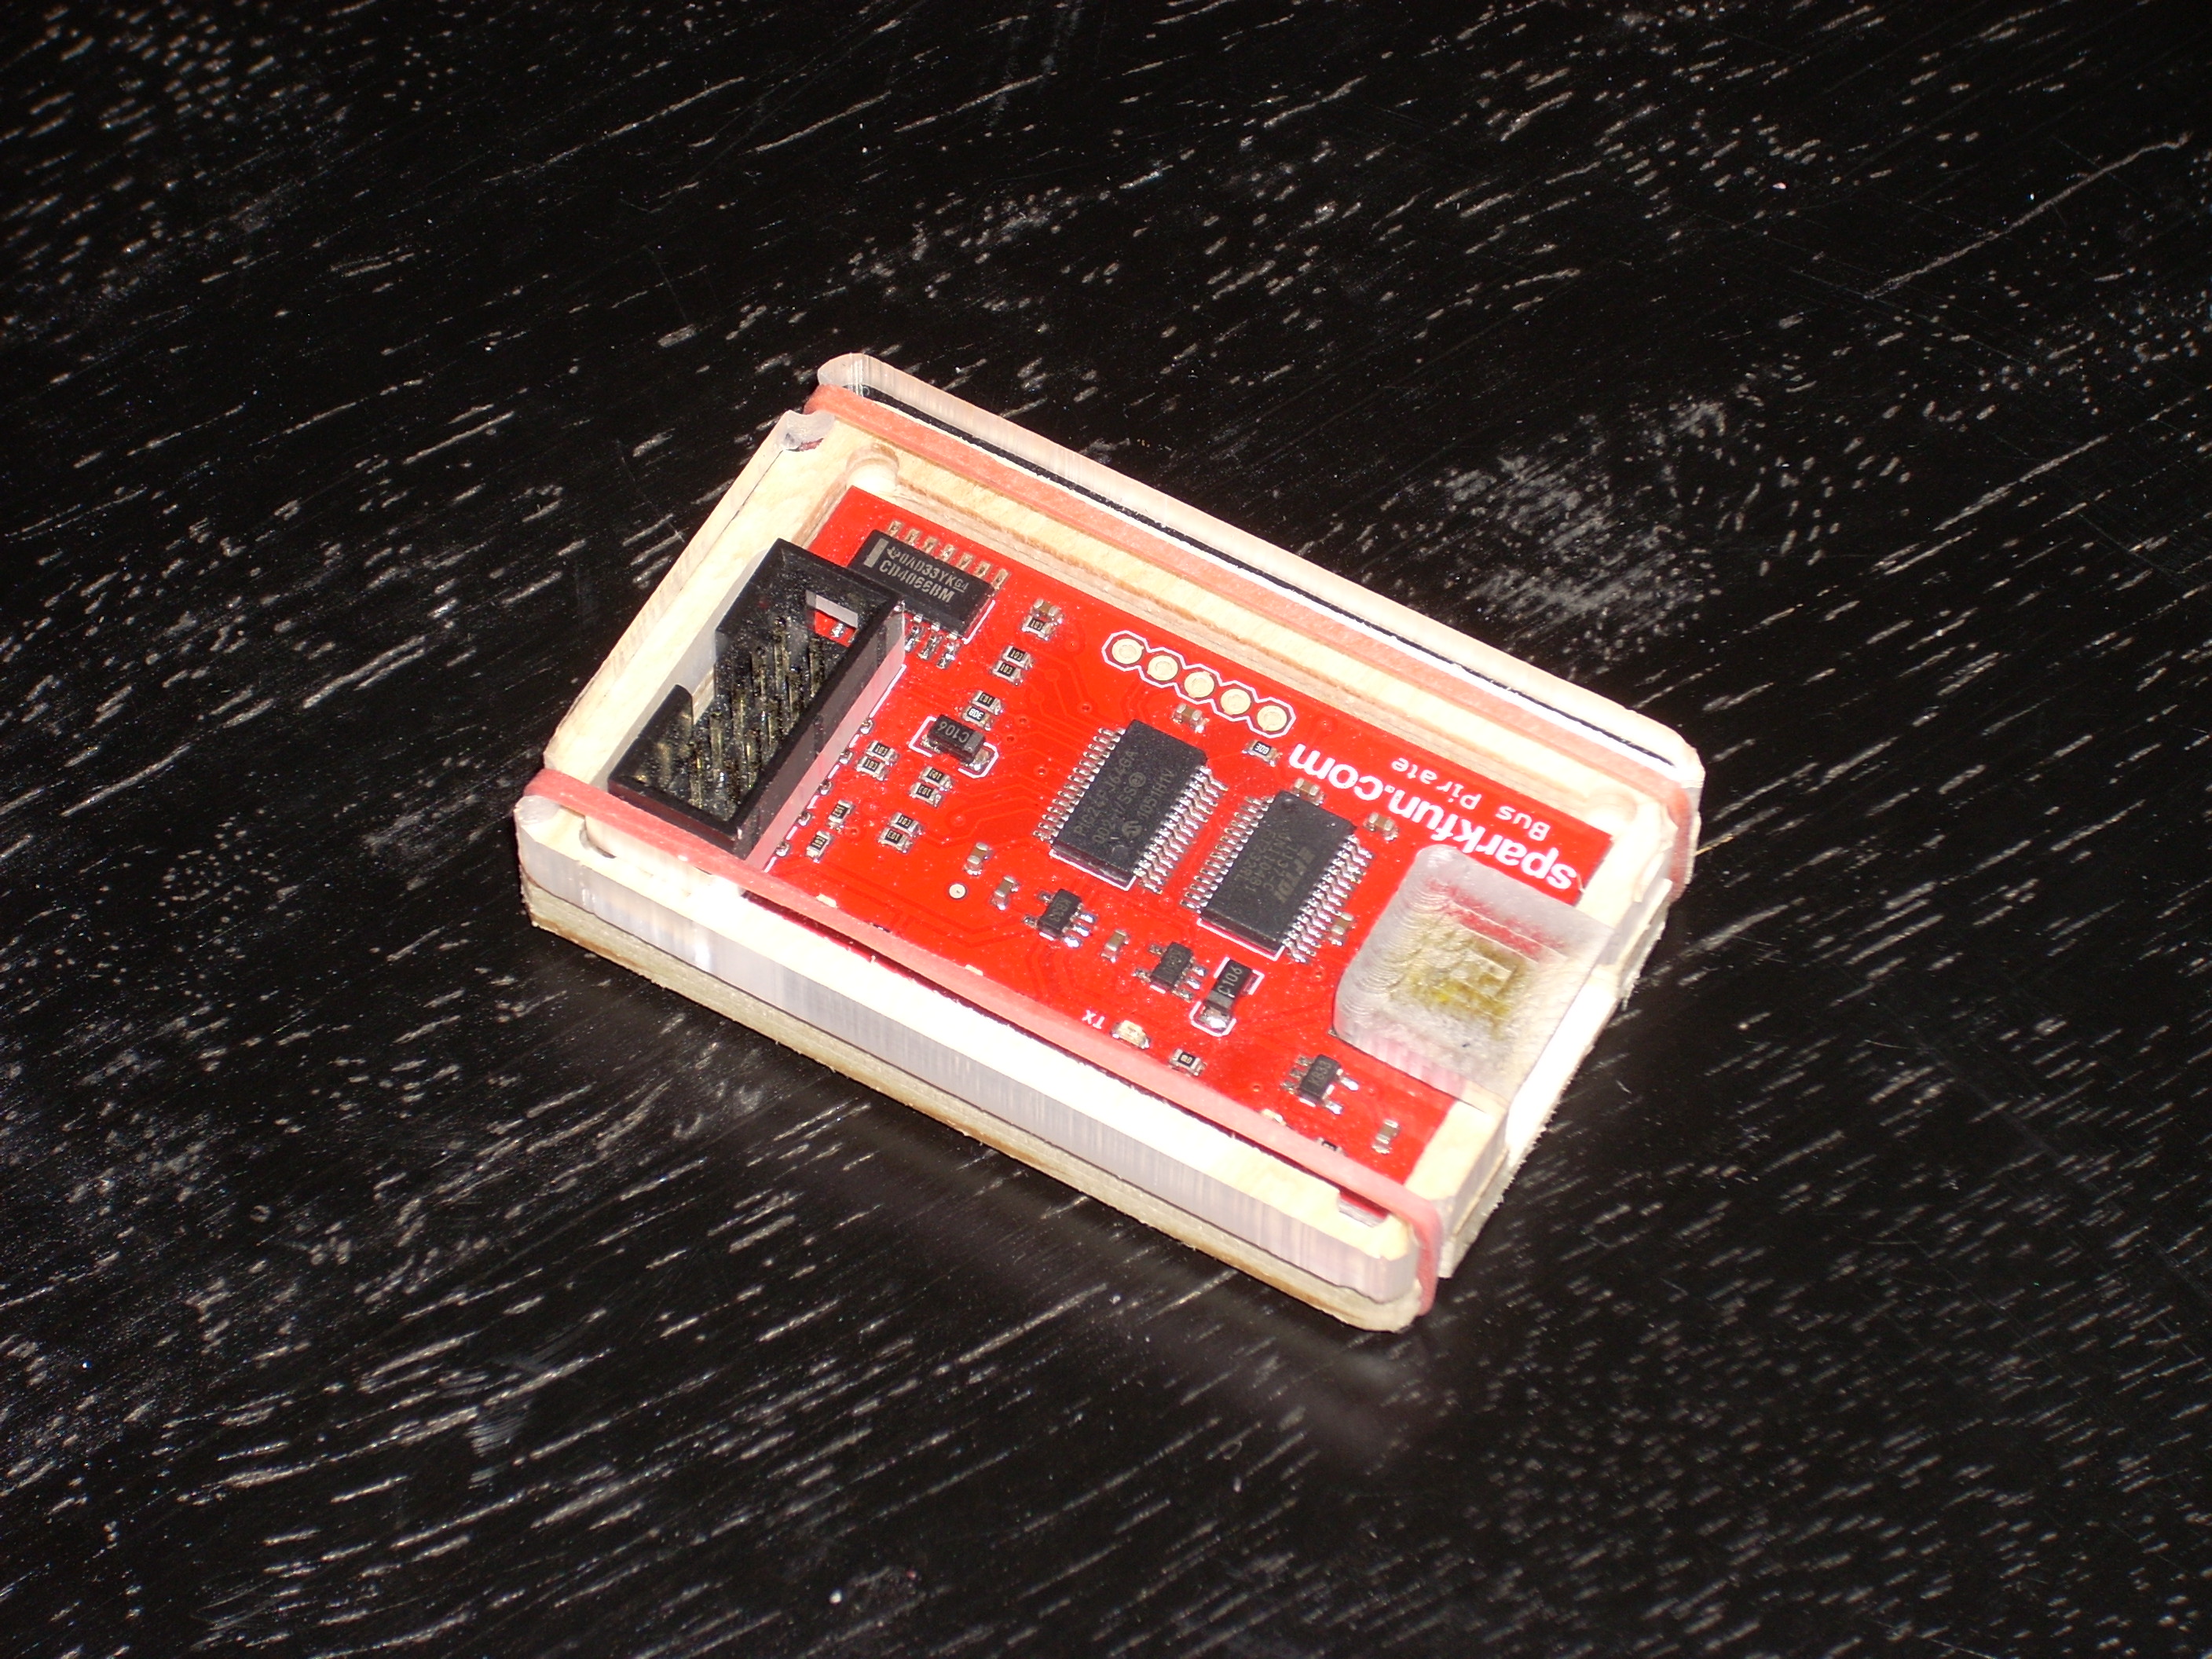
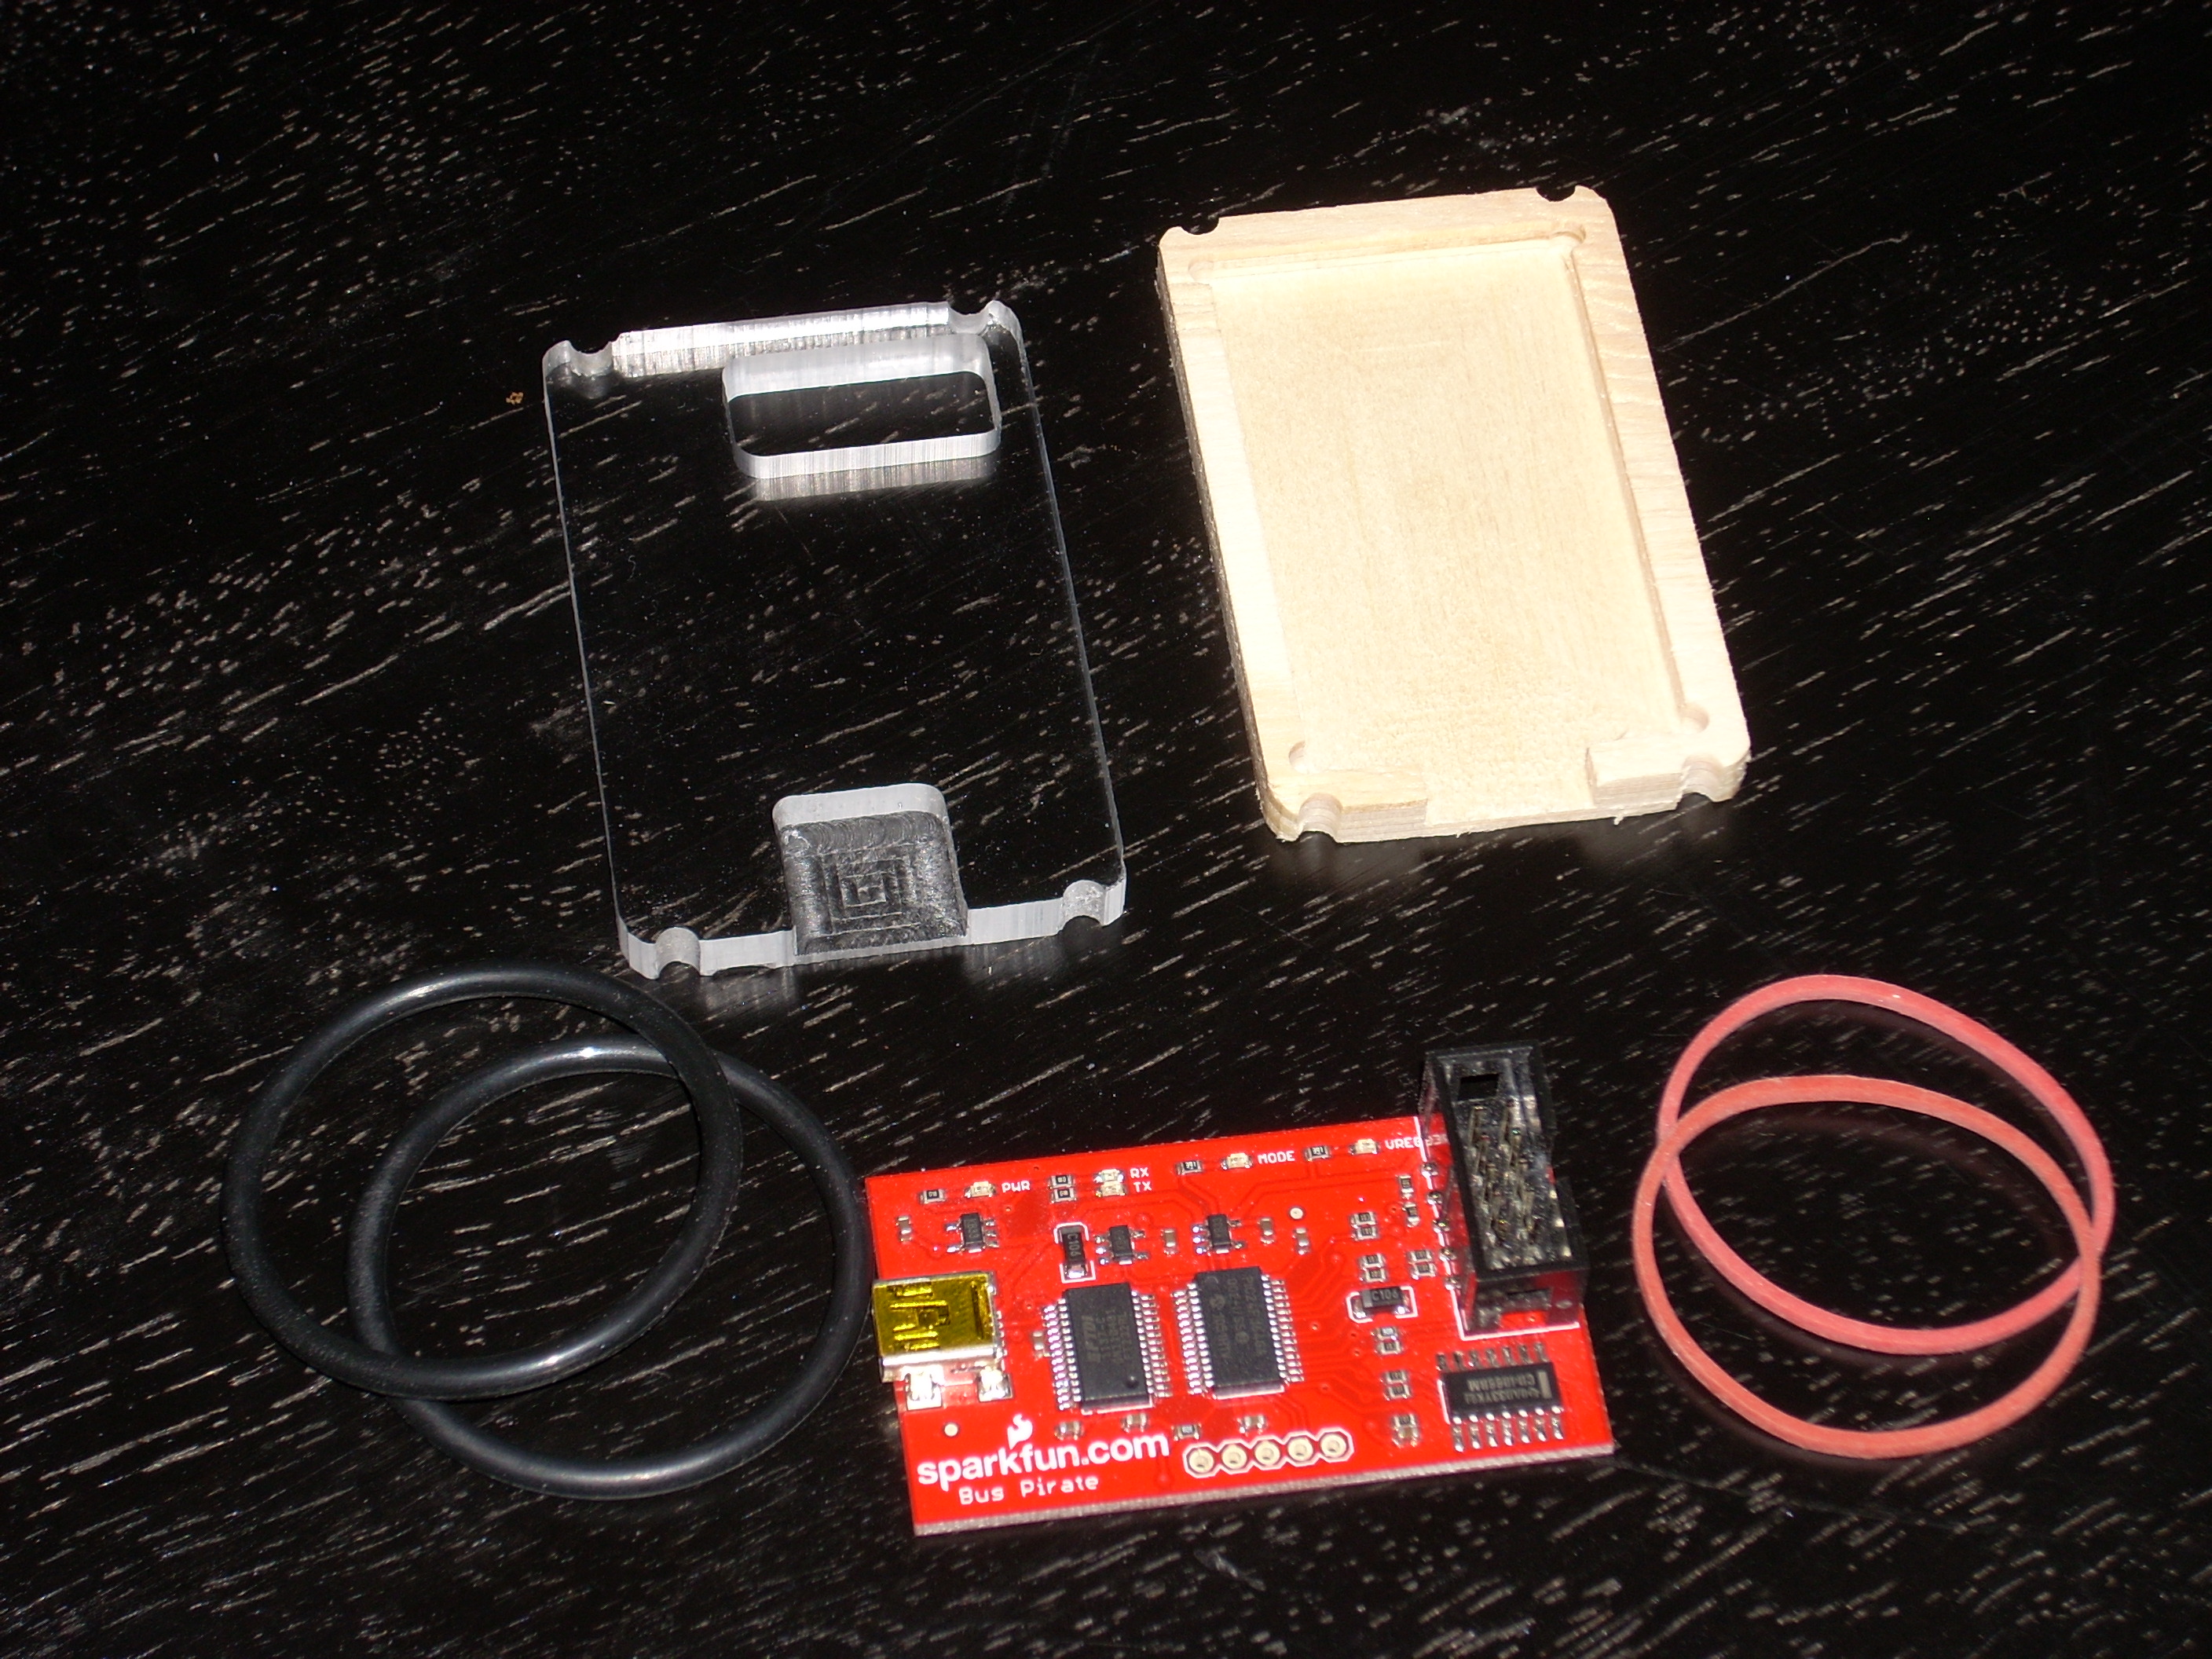
Finally I decided I was going to stick with the acrylic/plywood hybrid and that I also didn’t want to use screws to fasten the case. So I decided on O-rings or rubber bands. The end results work well. The case is easy to access, and the O-rings/rubber bands work as rubber feet for the case and keep it from sliding on the table.
Build
No real issues with the cutting, and the assembly was easy enough. I believe the screws I used were 6-24 which were perfect to barely hold in the 1/8″ holes for case 1, 2 & 3.
Lessons Learned
I still can’t cut acrylic very well. I think my main problem is that I have the wrong end mill for the job.
-
-
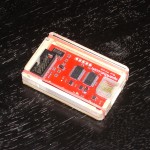
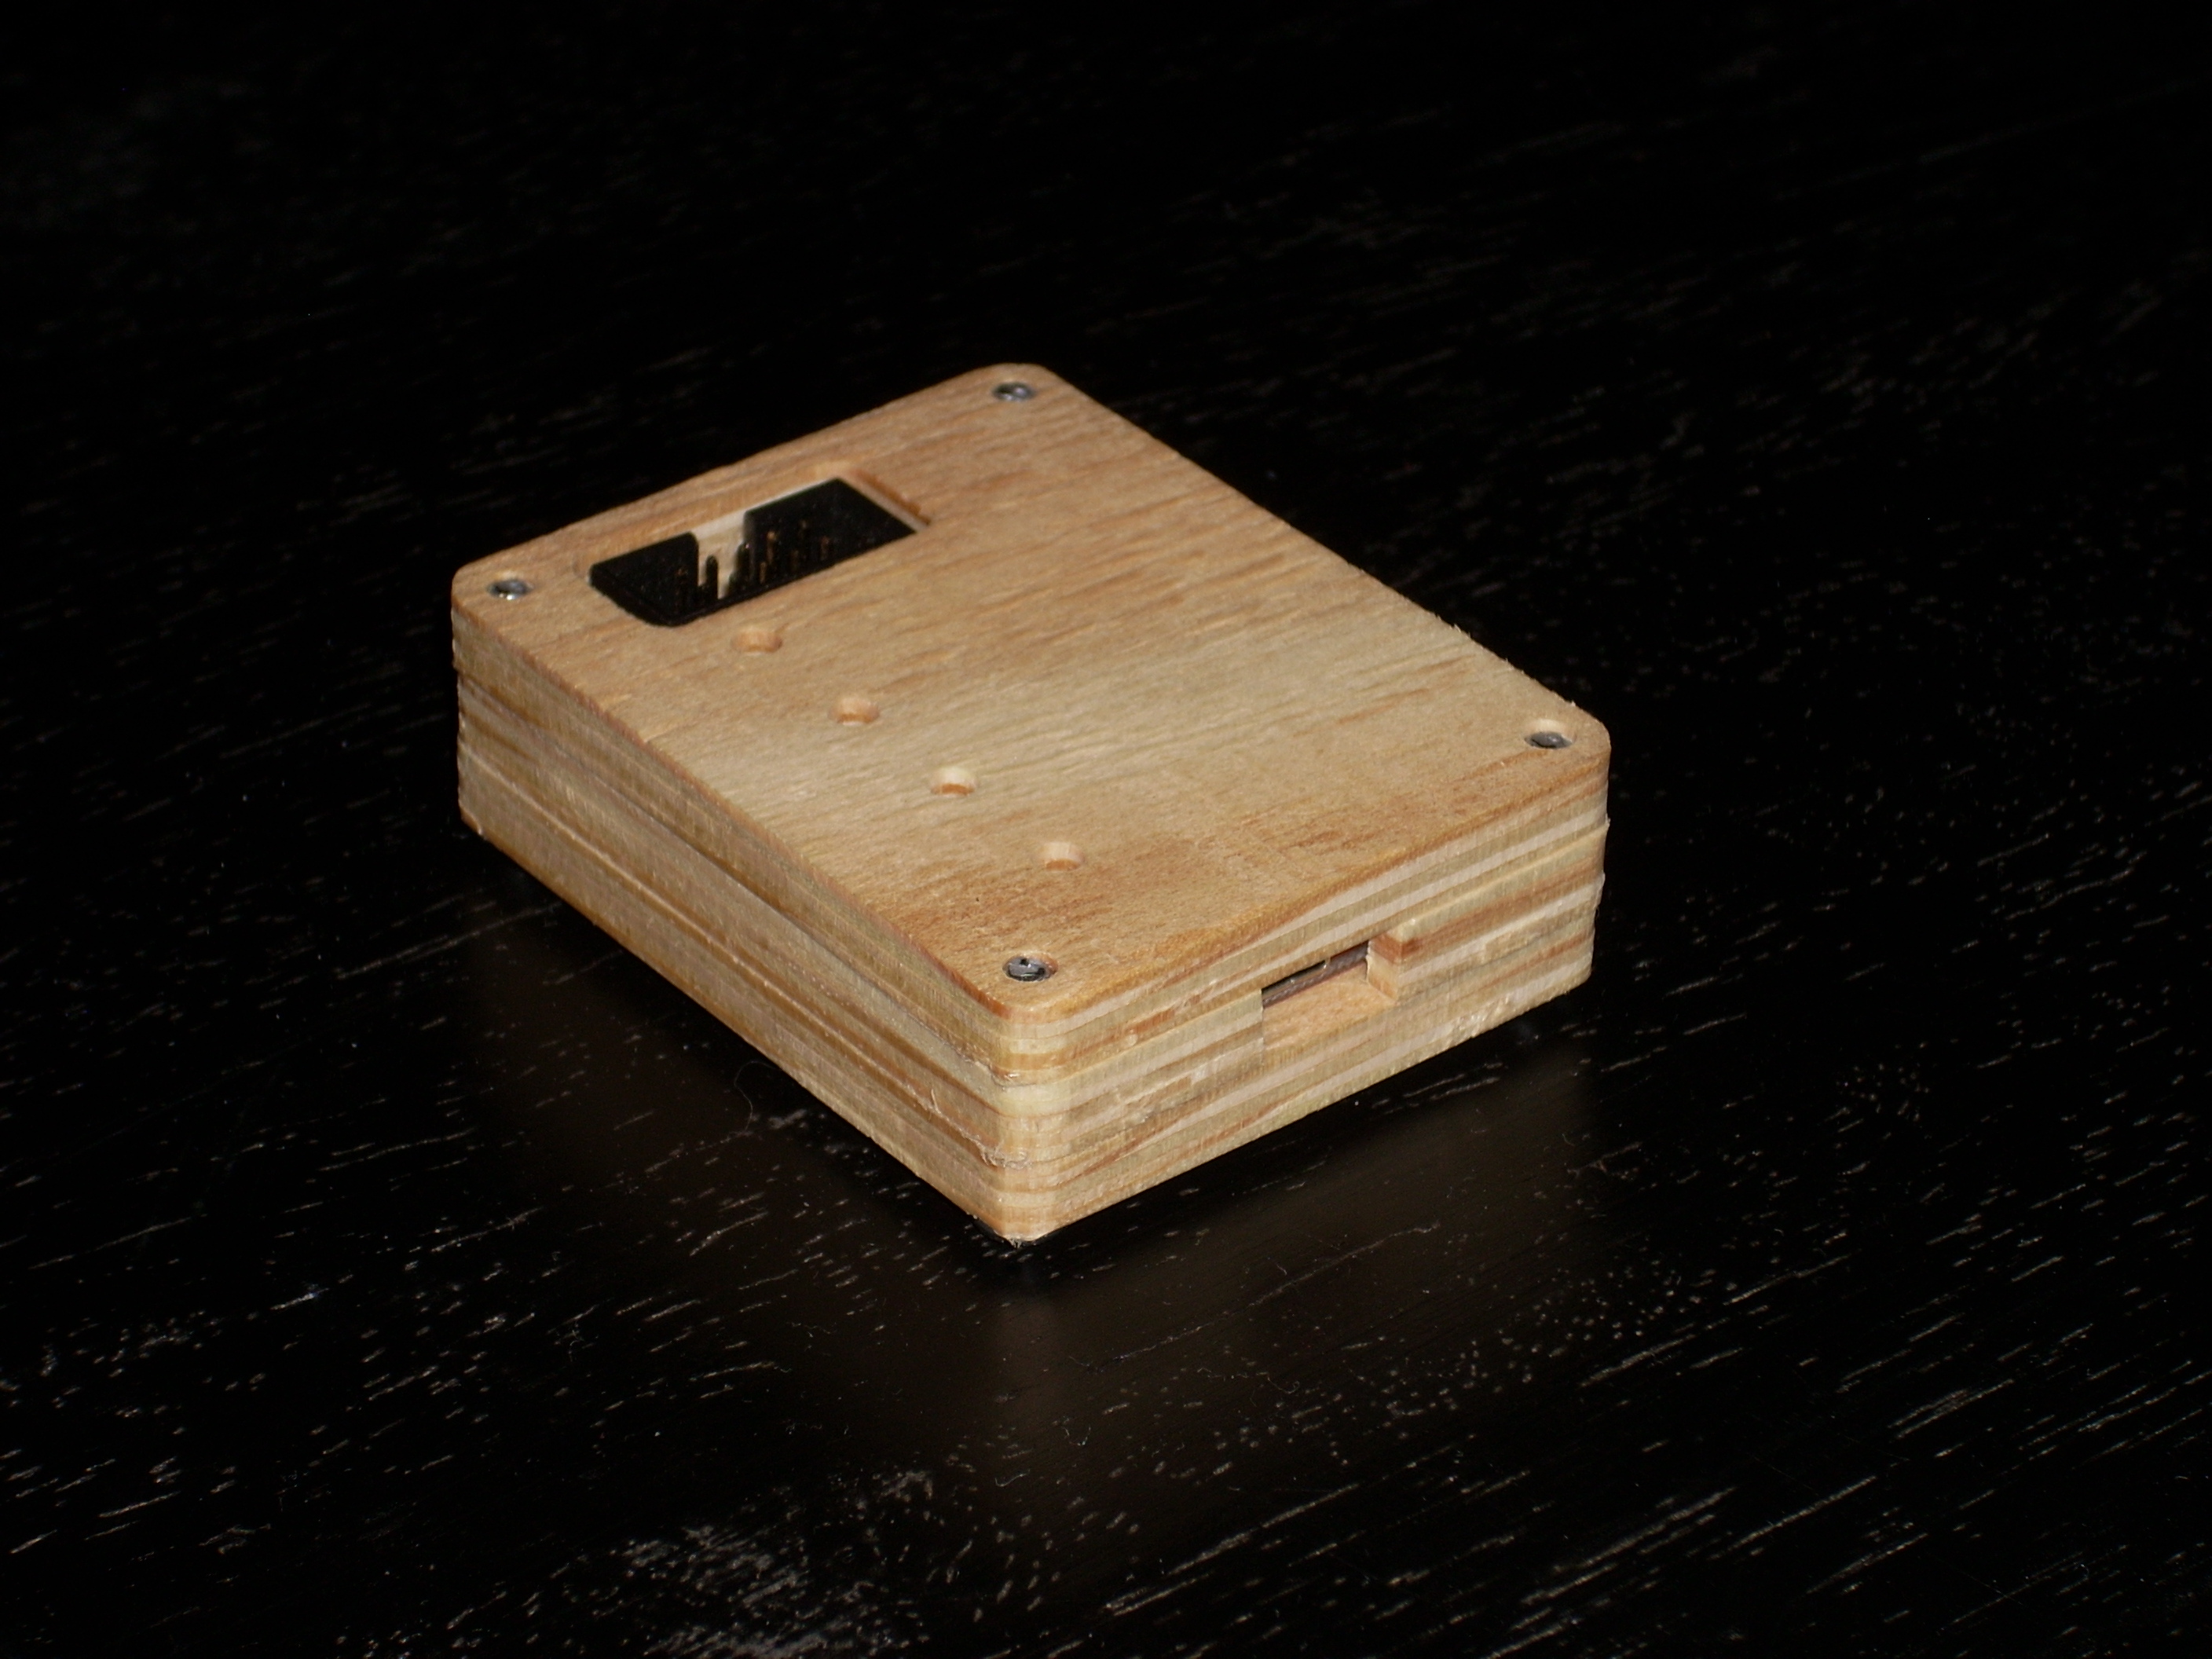
Design 1 – Assembled
-
-
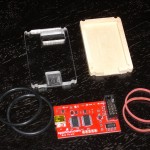
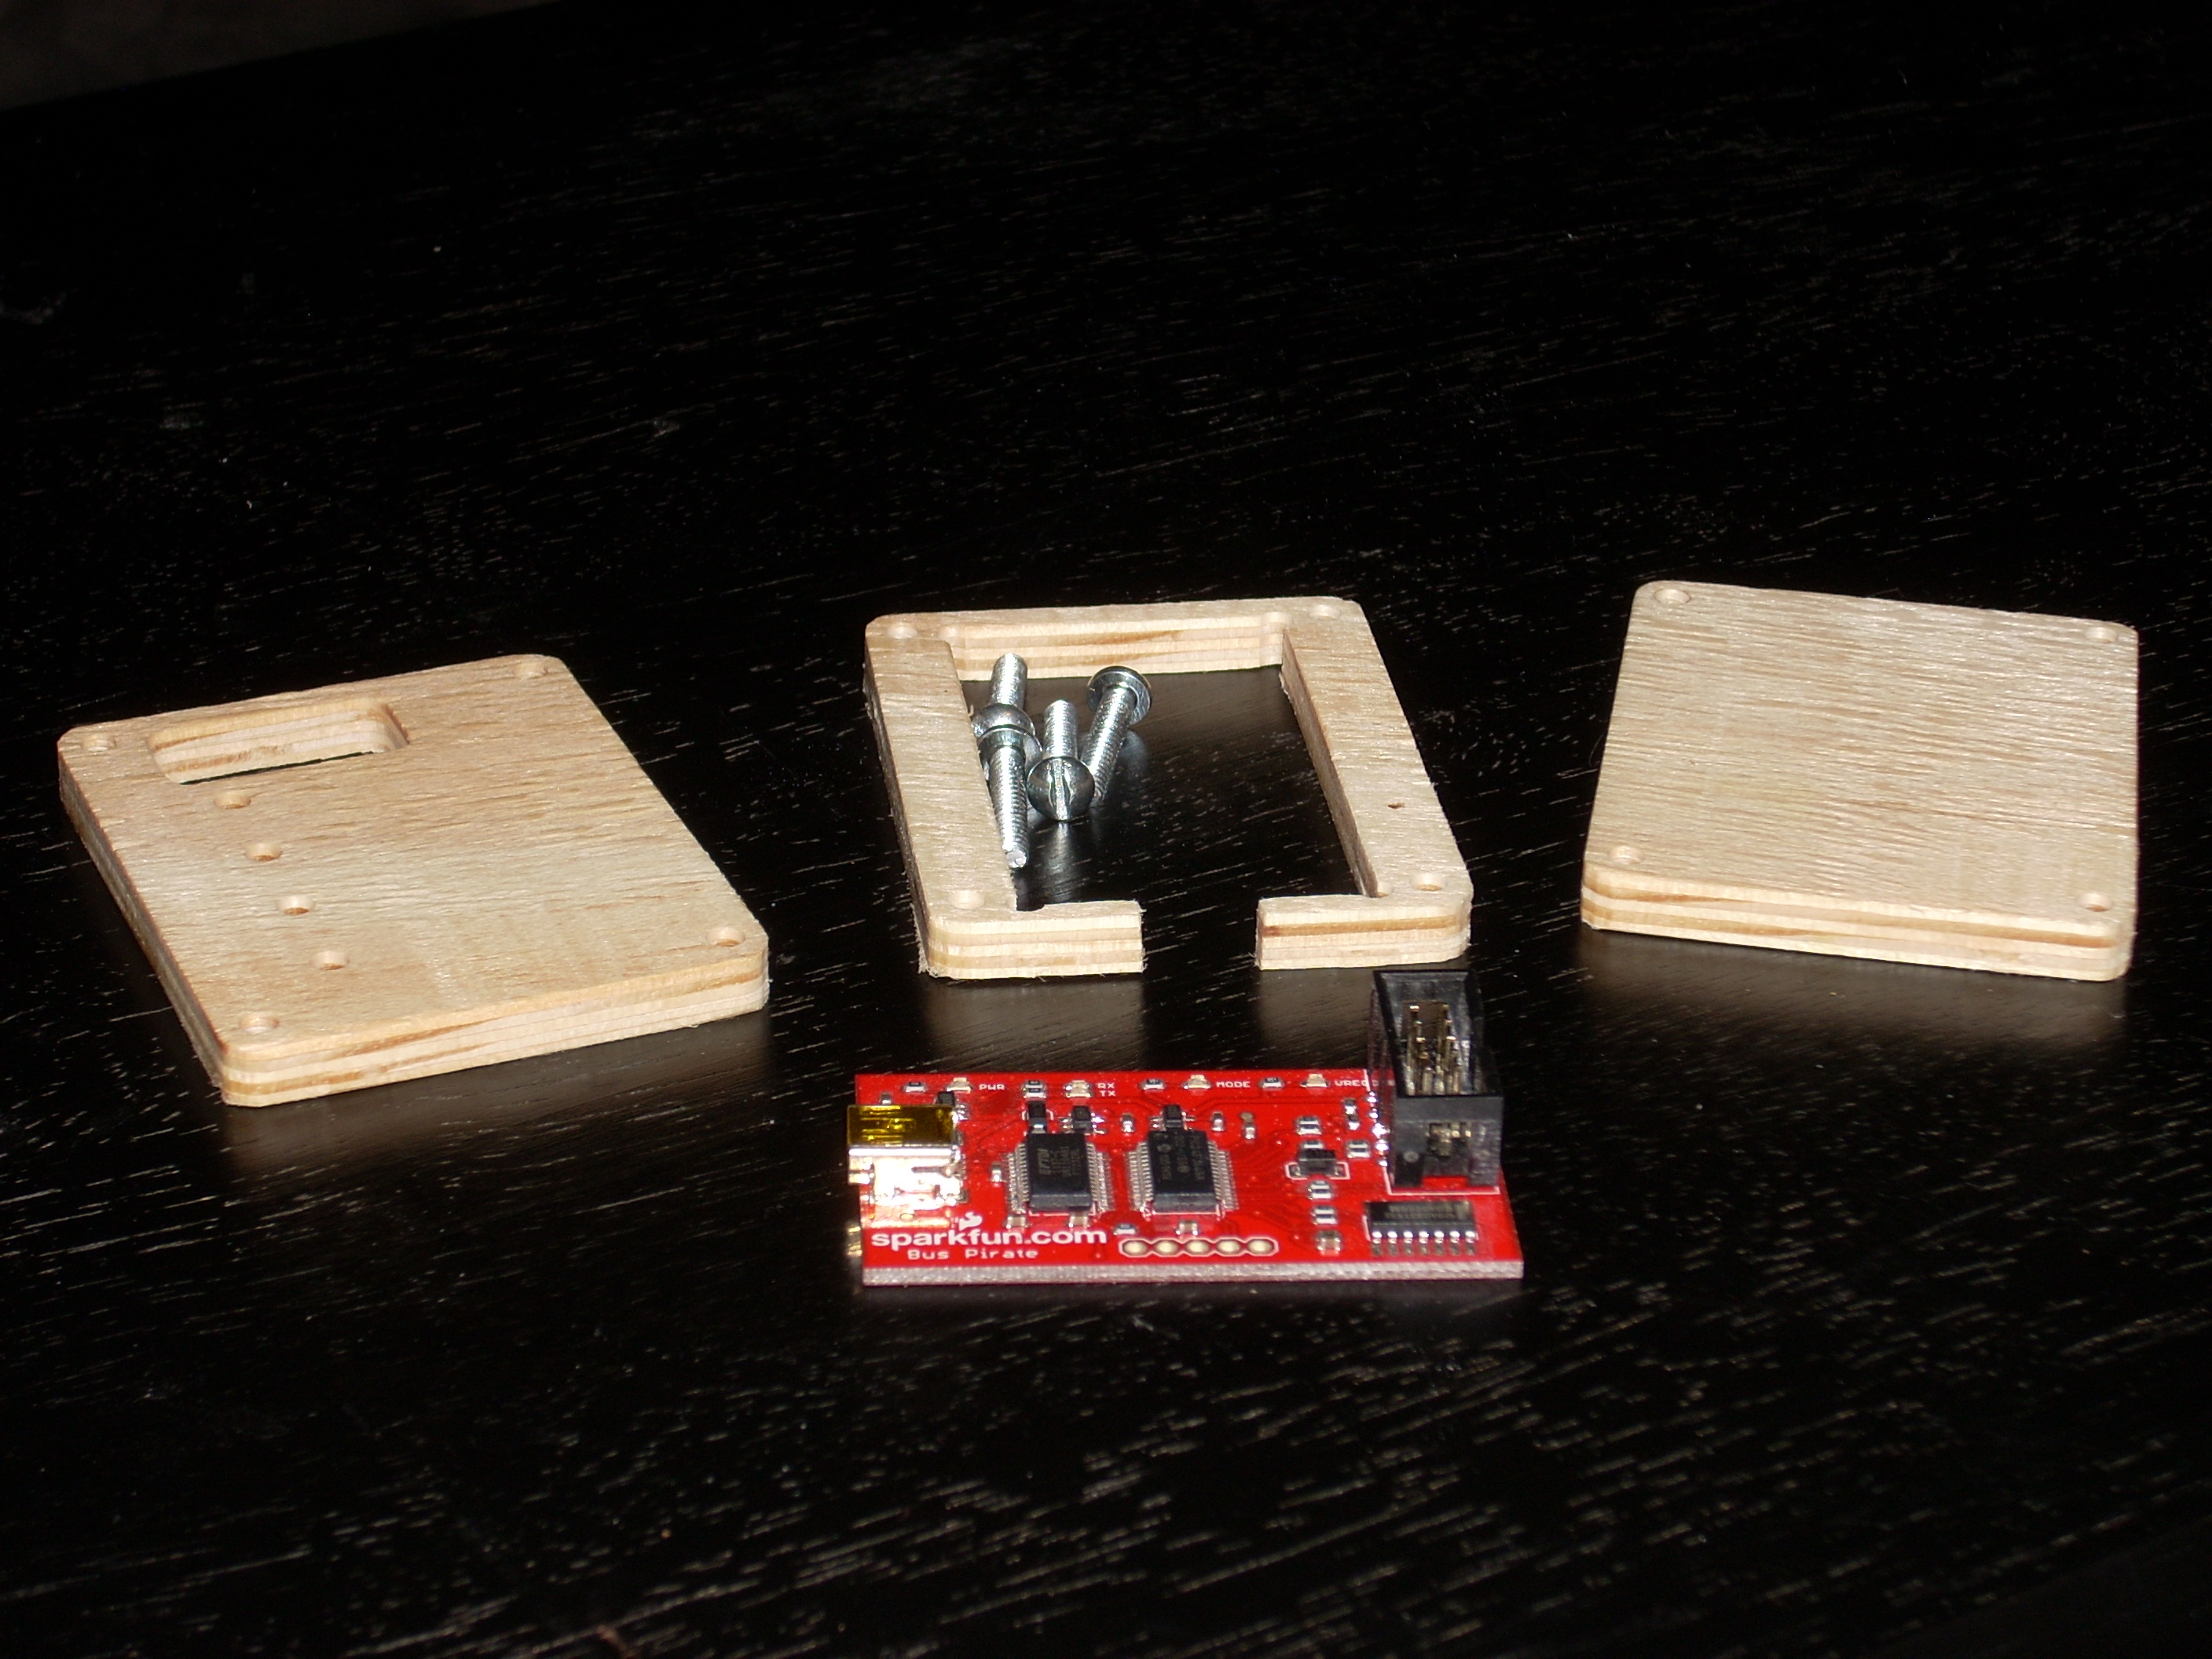
Design 1 – Disassembled
-
-
Design 2 – Assembled
-
-
Design 2 – Disassembled
-
-
Design 3A – Assembled
-
-
Design 3A – Disassembled
-
-
Design 3B – Assembled
-
-
Design 3B – Disassembled
-

-
Design 4 – Assembled
-
-
Design 4 – Assembled
-
-
Design 3 – Disassembled
-
- Design 1 – Assembled
-
- Design 1 – Disassembled
-
- Design 2 – Assembled
-
- Design 2 – Disassembled
-
- Design 3A – Assembled
-
- Design 3A – Disassembled
-
- Design 3B – Assembled
-
- Design 3B – Disassembled
-
- Design 4 – Assembled
-
- Design 4 – Assembled
-
- Design 3 – Disassembled
Note: This is a re-post from my original build log over at OHM Space where the build took place.
0 Comments.