
The primary goal was to do a test cut on the CNC for joysticks and buttons for an arcade cabinet project. As it was initially just a test, I was disappointed in the fact that my end results would be a piece of wood with holes that would be of no use. So I decided to double up the cuts on an inexpensive piece of MDF and end up with the control panel top for a standalone arcade controller (like the X-Arcade). Then I decided it needed a base also, and should be easy to assemble, and easily reproducible. This is the results.
Software
- Inkscape – open source freeware vector drawing application. Used as a 2D CAD program.
- PartKAM – open source freeware flash based CAM program. Very basic, but good for basic 2.5D with SVG files (as produced by Inkscape).
Equipment
- CNC Router
- Screwdriver
Materials
- 3/4″(ish) X 11 1/8″ MDF
- 8-32 x 1 1/2″ pan head bolts, washers, and nuts
- Arcade joysticks, buttons, etc.
Design
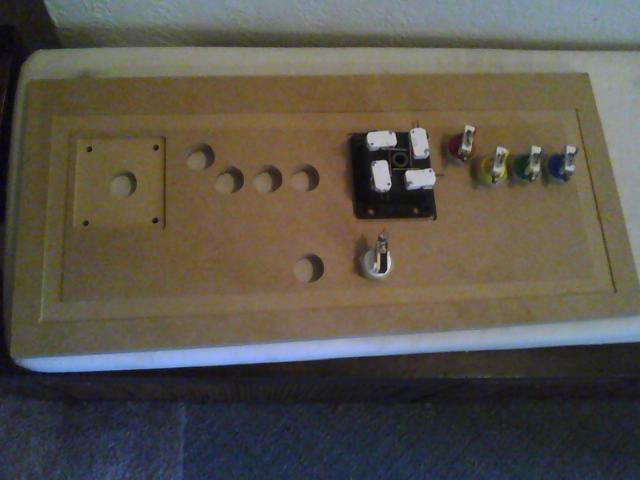
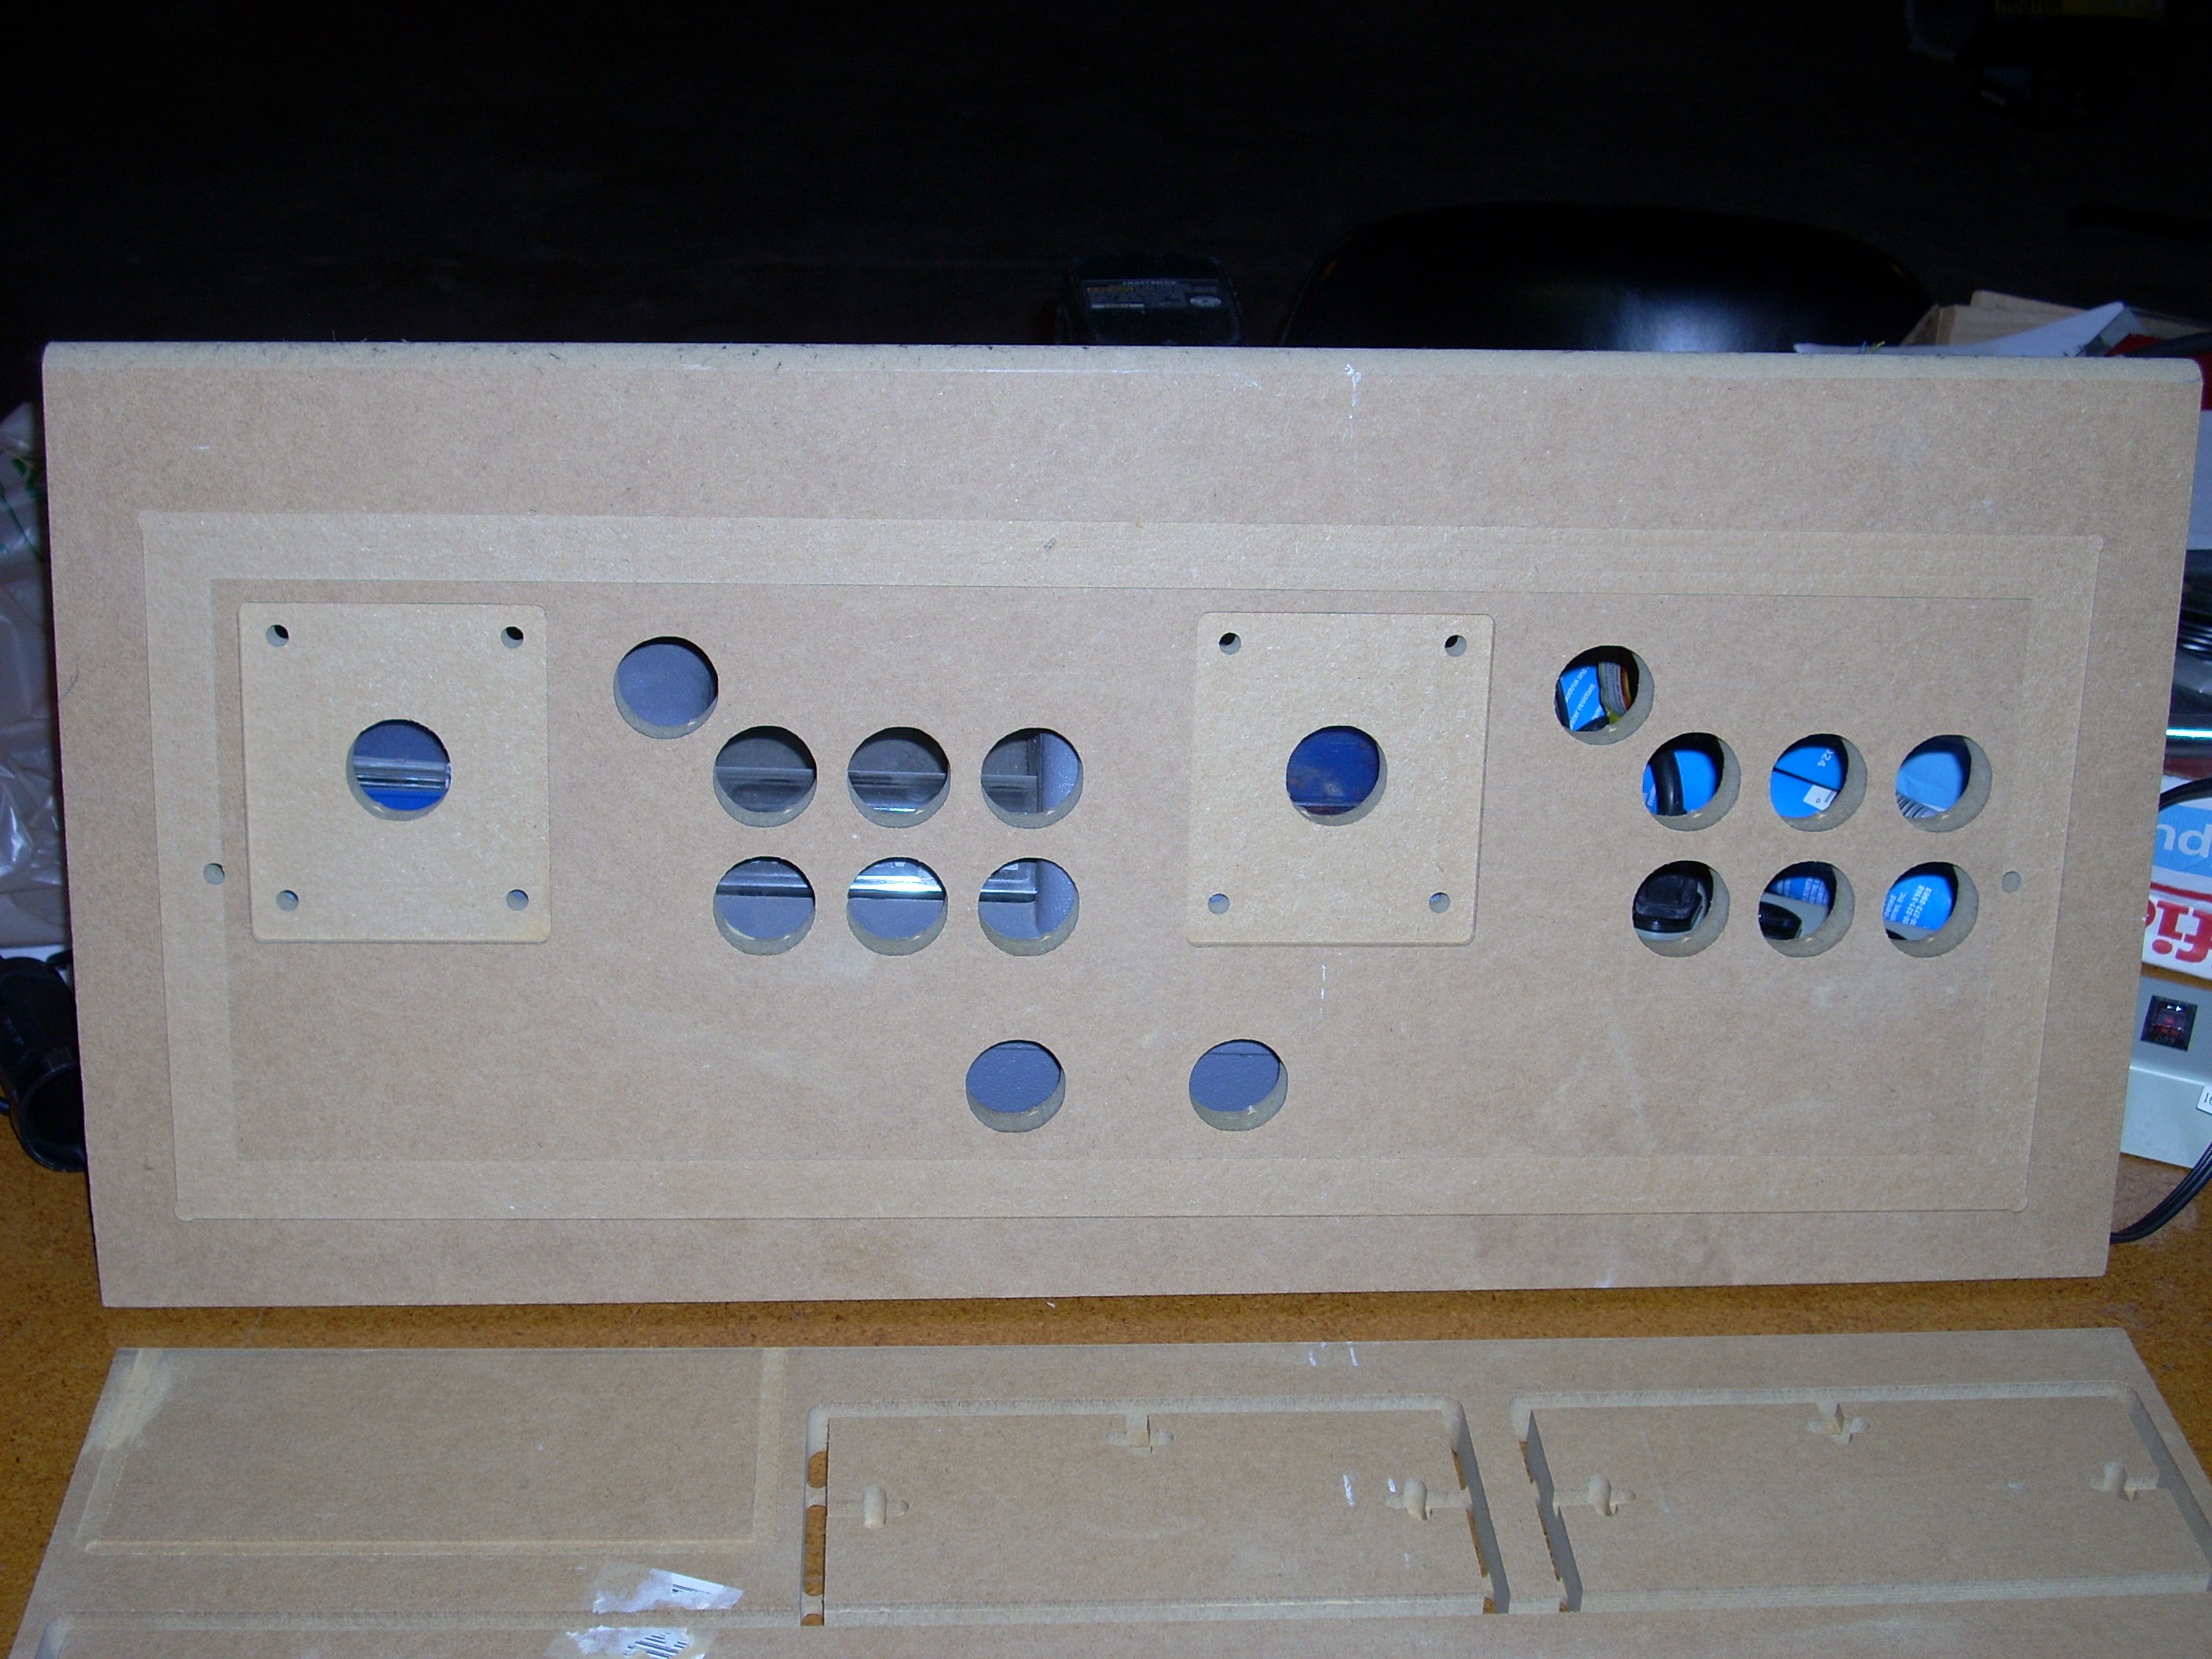
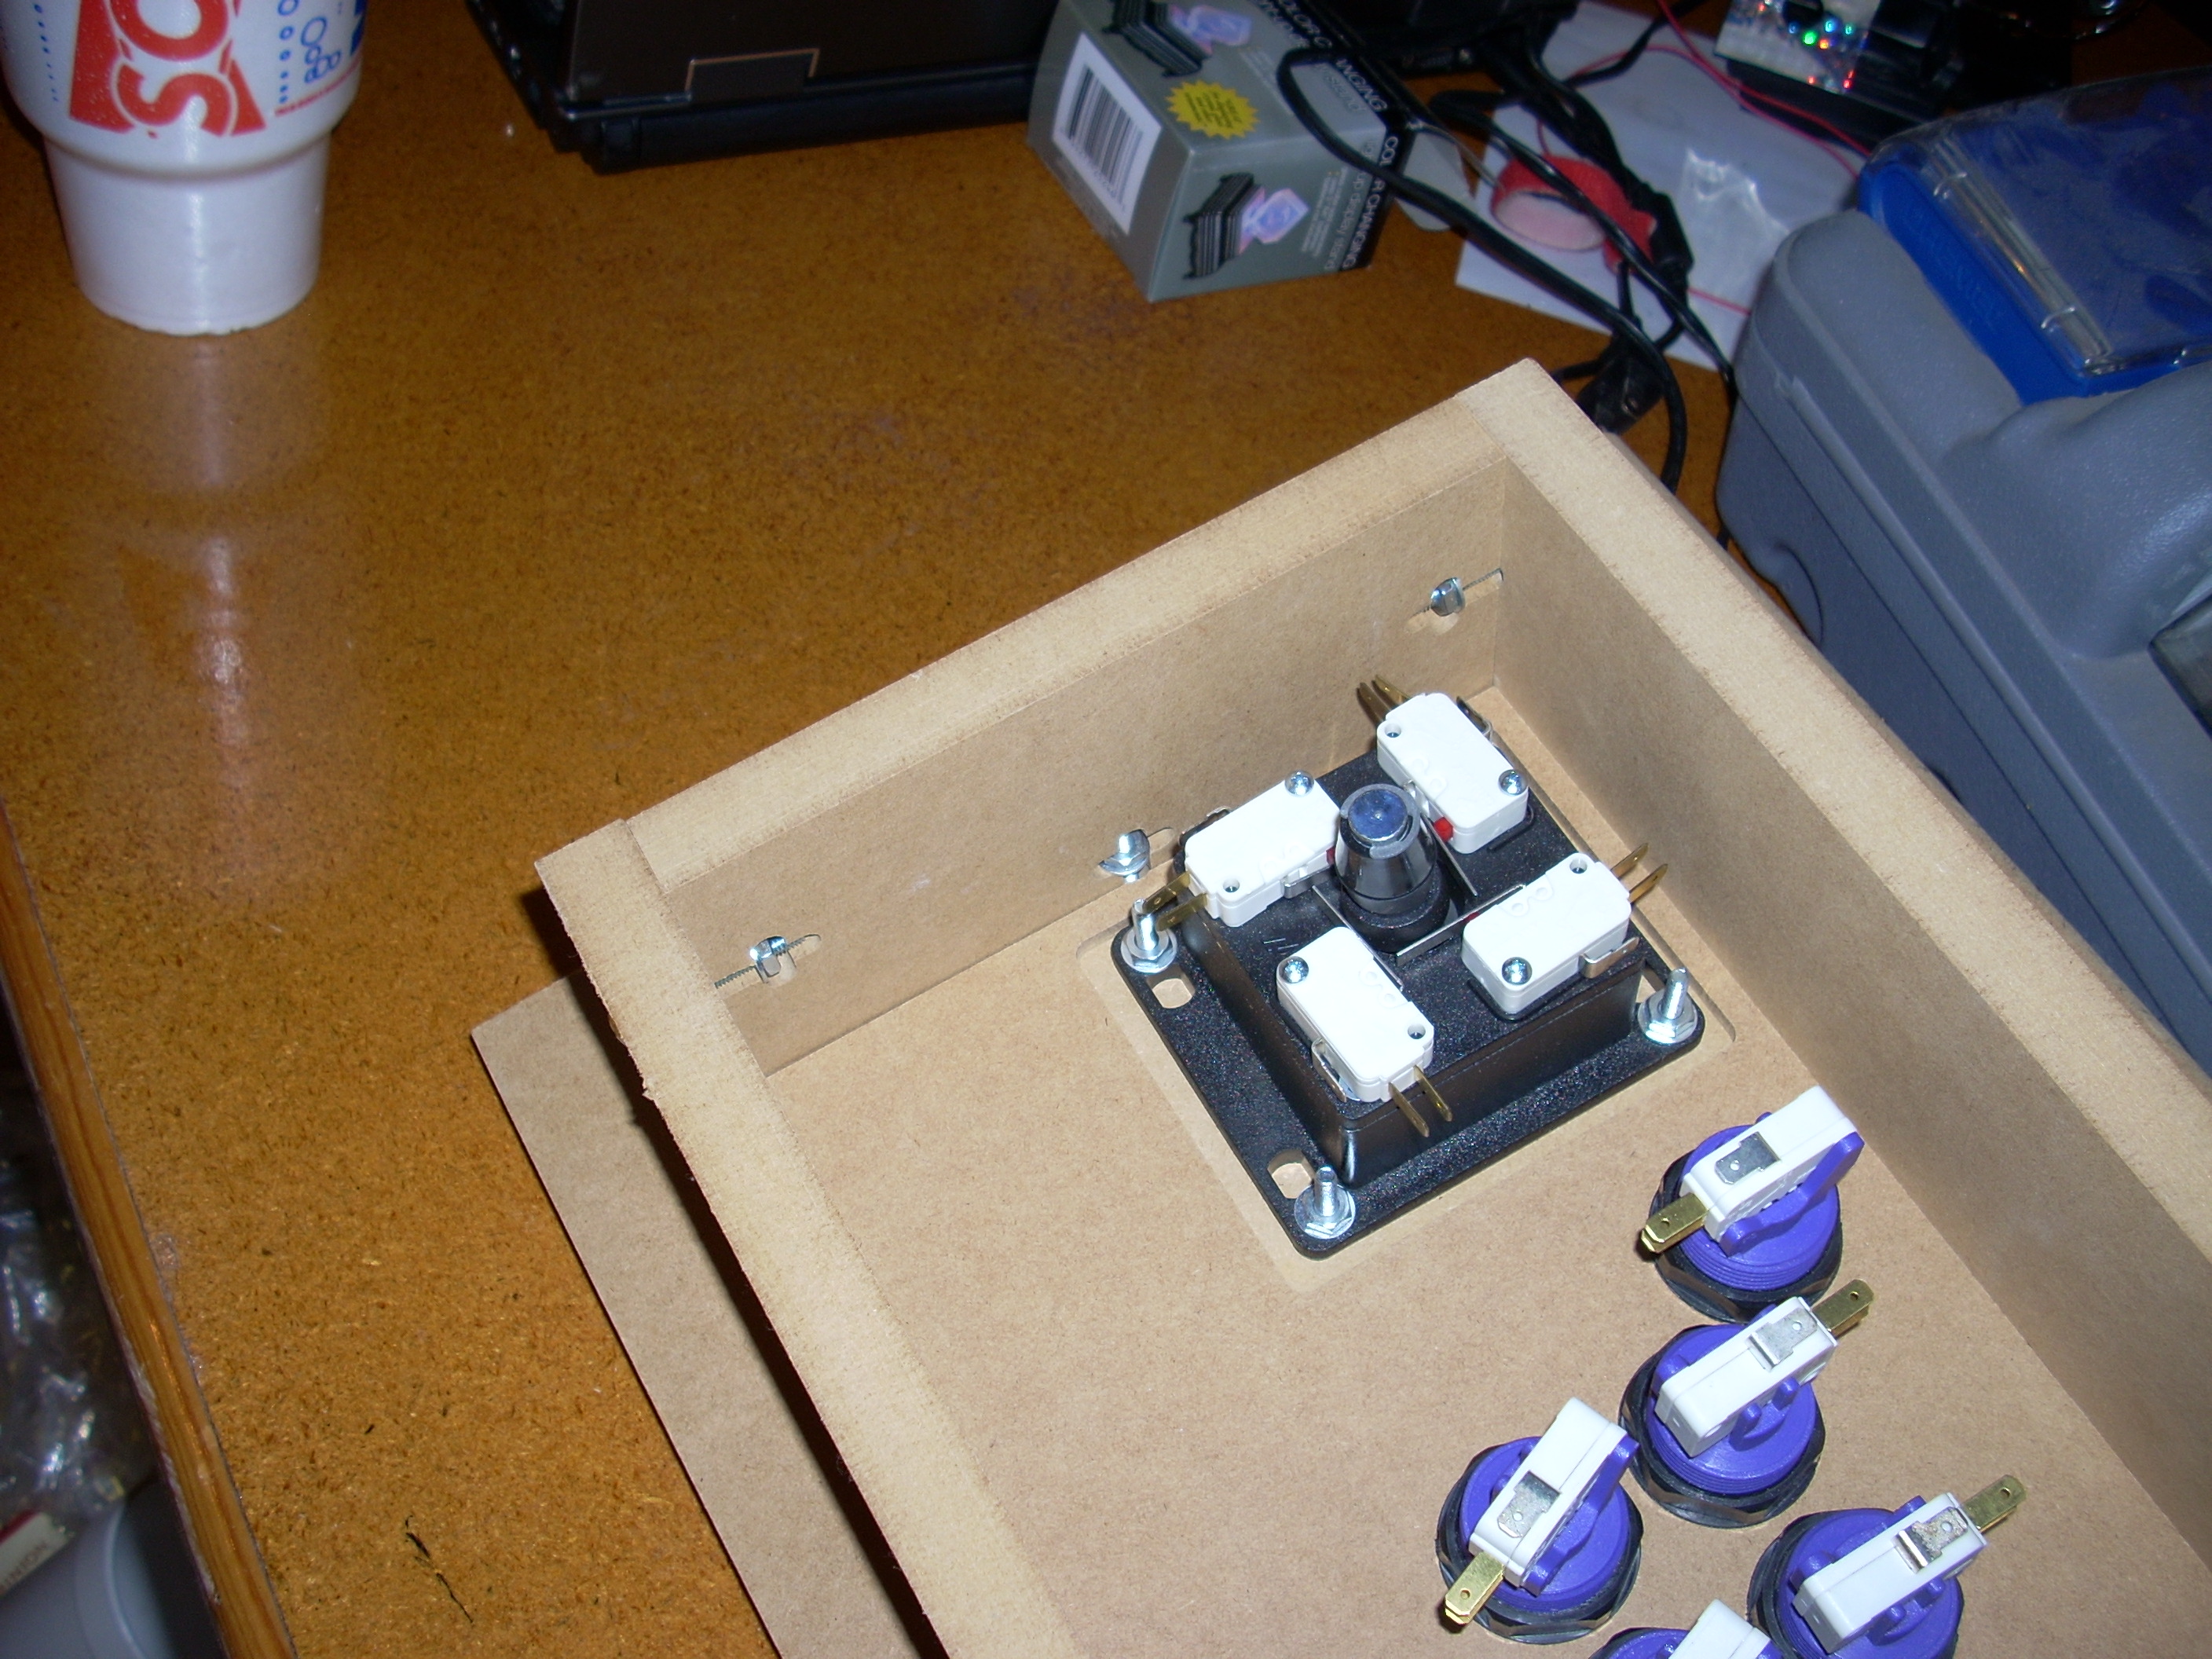
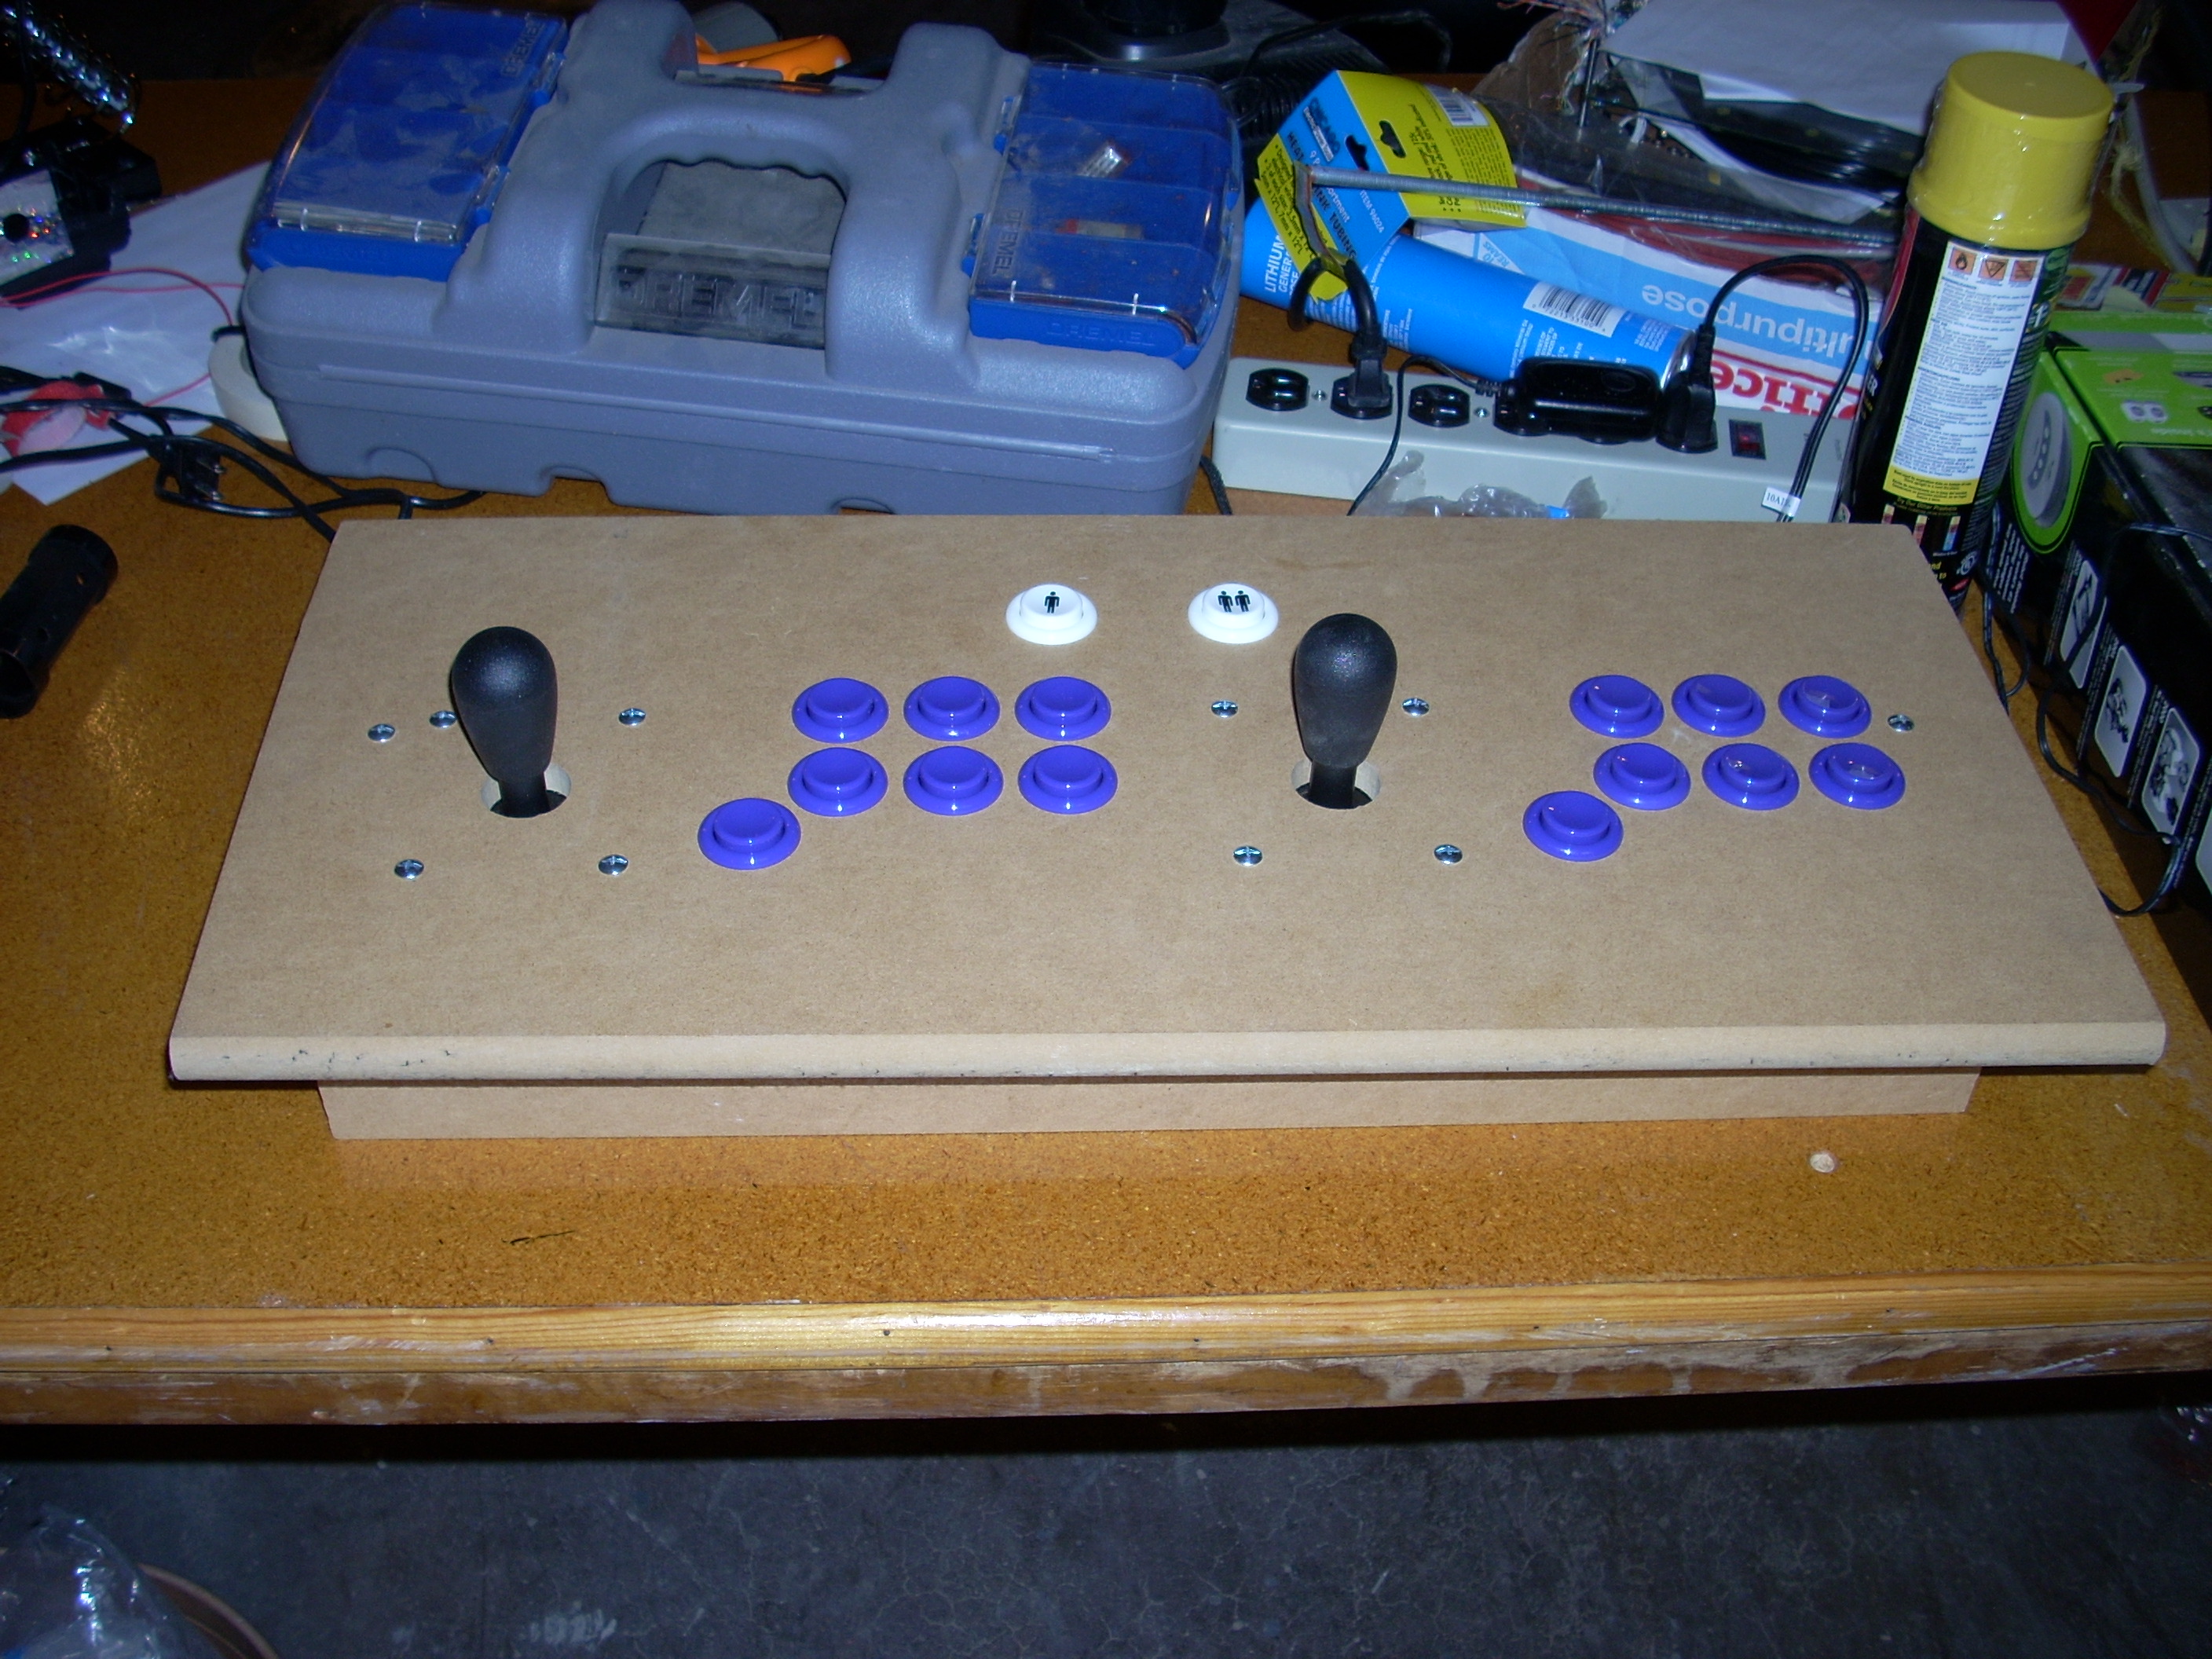
The design was done in Inkscape and toolpaths created with PartKAM. Originally I planned a 4 button (Neo-Geo) per player layout, but then later changed it to a 7 button layout. The standard arcade buttons are 1 1/8″ and fit easily in the 3/4″ panel. I sized the holes to about 1.2″ The stanard arcade joy stick needs to be .5″ or closer to the top surface to fit correctly, so a .25″ deep pocket was created on the back side for the joy stick to fit into. There is also a 1/8″ deep pocket on the back side to help secure the base and reduce the number of required fasteners.
The button hole toolpaths were done as a profile cut (cutting around the circumference), since this would leave a loose plug when completed, tabs were added. Tabs are basically small pieces of materially left behind to secure the piece being cut loose from a larger piece. In PartKAM I added 2 tabs per button and they were sized to be .15″ x .15″.
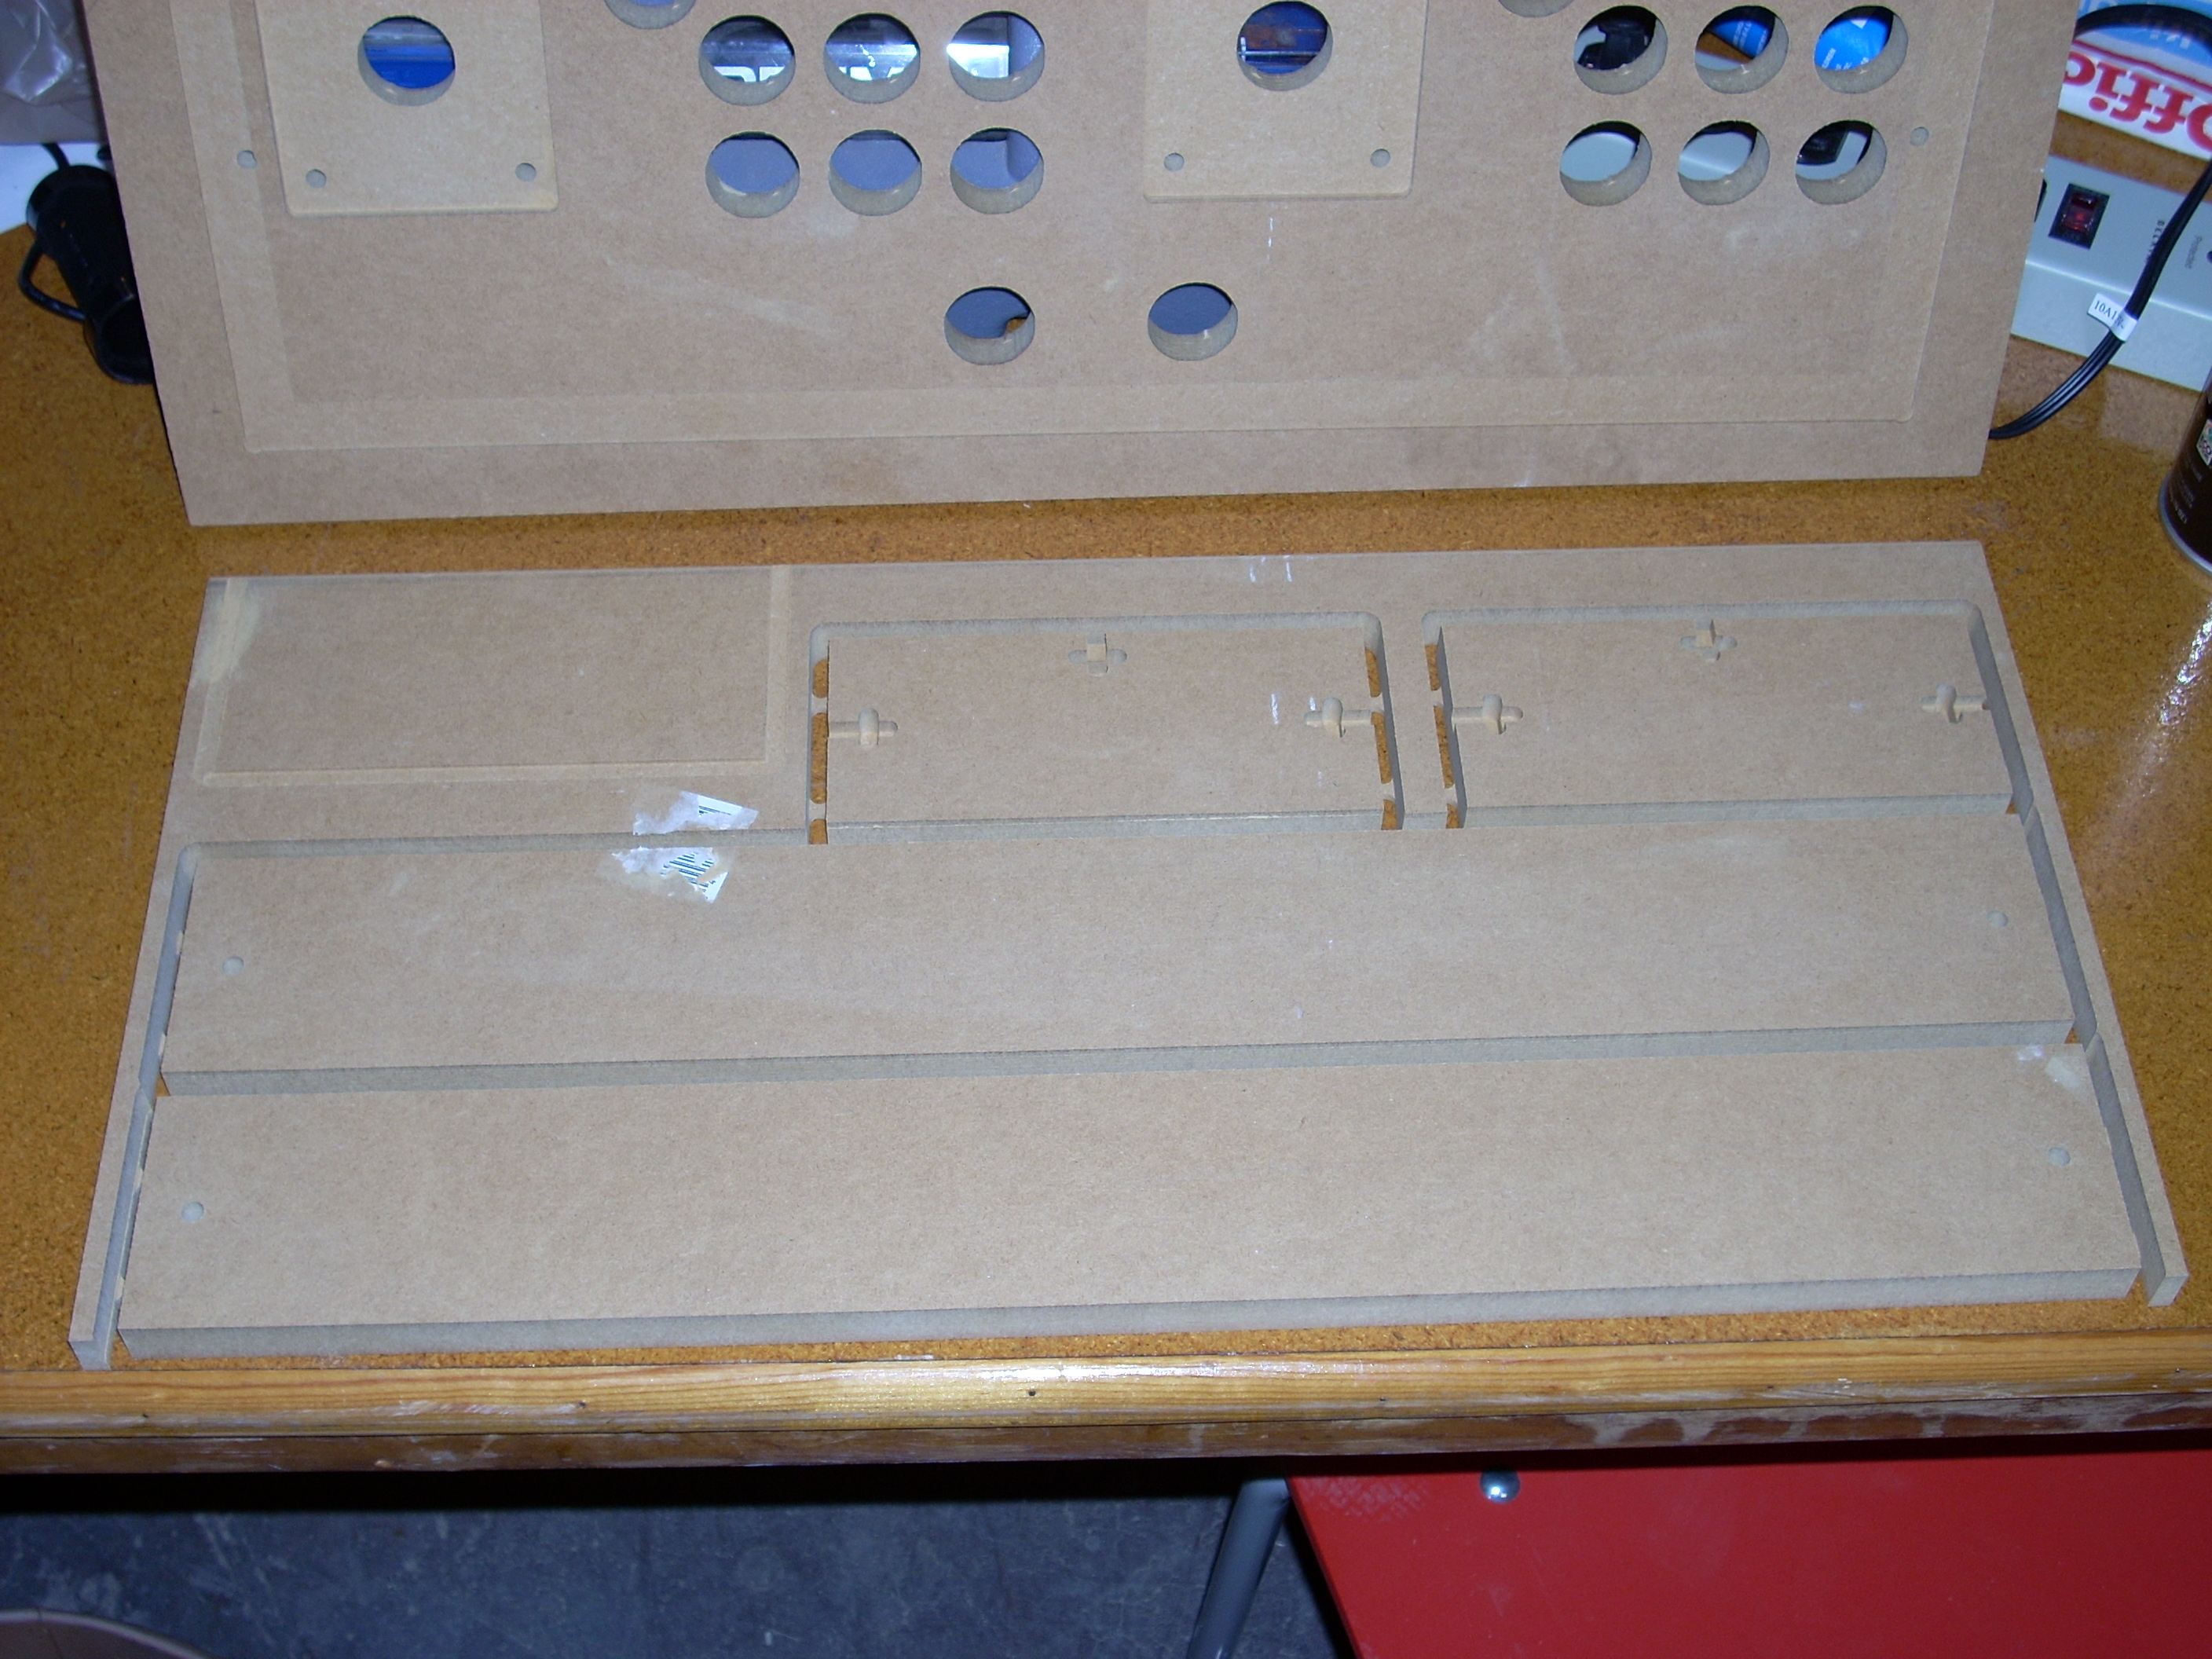
The base is made of 4 pieces and are butted against each other. This design was chosen for simplicity and ease of manufacturer. There are also T slots cut into each side piece which are used to secure the front and back base pieces to the side pieces and also to secure to top to the side pieces. This allows simple bolts, washers, and nuts to be used for easy assembly disassembly.
Build
All cuts on the CNC were done with a 1/4″ end mill. During the routing of the buttons, I found out that PartKAM does not take tool size into account, which means that my tabs were ineffective (.15″-.25″ = no tab). On the last pass of each cut, the plug would go shooting off the table. Luckily no parts or people were damaged.
The base components were cut at a seperate session. For some reason that wasn’t obvious in reviewing the design in Inkscape, one piece of my design was 1/8″ too wide. A quick pass down the table saw was the most expedient fix. I assume this was a problem with PartKAM, but I haven’t proved it out.
The base worked excellent with the top and went together easily. One problem. The T slots for the top came out shorter than they should, which means that my bolts were too long for the holes. A quick trim of about 1/8″ from 2 bolts and I was good. In reviewing the design I found out that I had resized the height of the sides to fit on my material and in doing so it caused the T-slot to be scaled by the same proportion. I should have double checked those dimensions and also made sure that the T slot was left of the rescaling.
Originally I planned to just to show off the cut pieces and move on to my next project, but so many people kept asking about it that I ended up putting $50 of joysticks and buttons into it so that everyone could better picture the purpose.
Lessons Learned
- MDF rocks as a material to use with a CNC Router.
- PartKAM does not take in account tool size when calculating tab width.
- Strange things can happen between Inkscape and PartKAM.
- Be care when resizing your design that critical dimensions are taken into account.
- I don’t need another stand alone arcade controller, but it makes a nice project to show off the CNC Router.
- The base should be bigger, I specifically inset from the edge and over did it.

Note: This is a re-post from my original build log over at OHM Space where the build took place.
0 Comments.